CloudTalk-Created and Routing calls for a Holiday

This video will walk you through the process of creating and routing calls for a new Holiday in the Midwest Technology CloudTalk Portal.
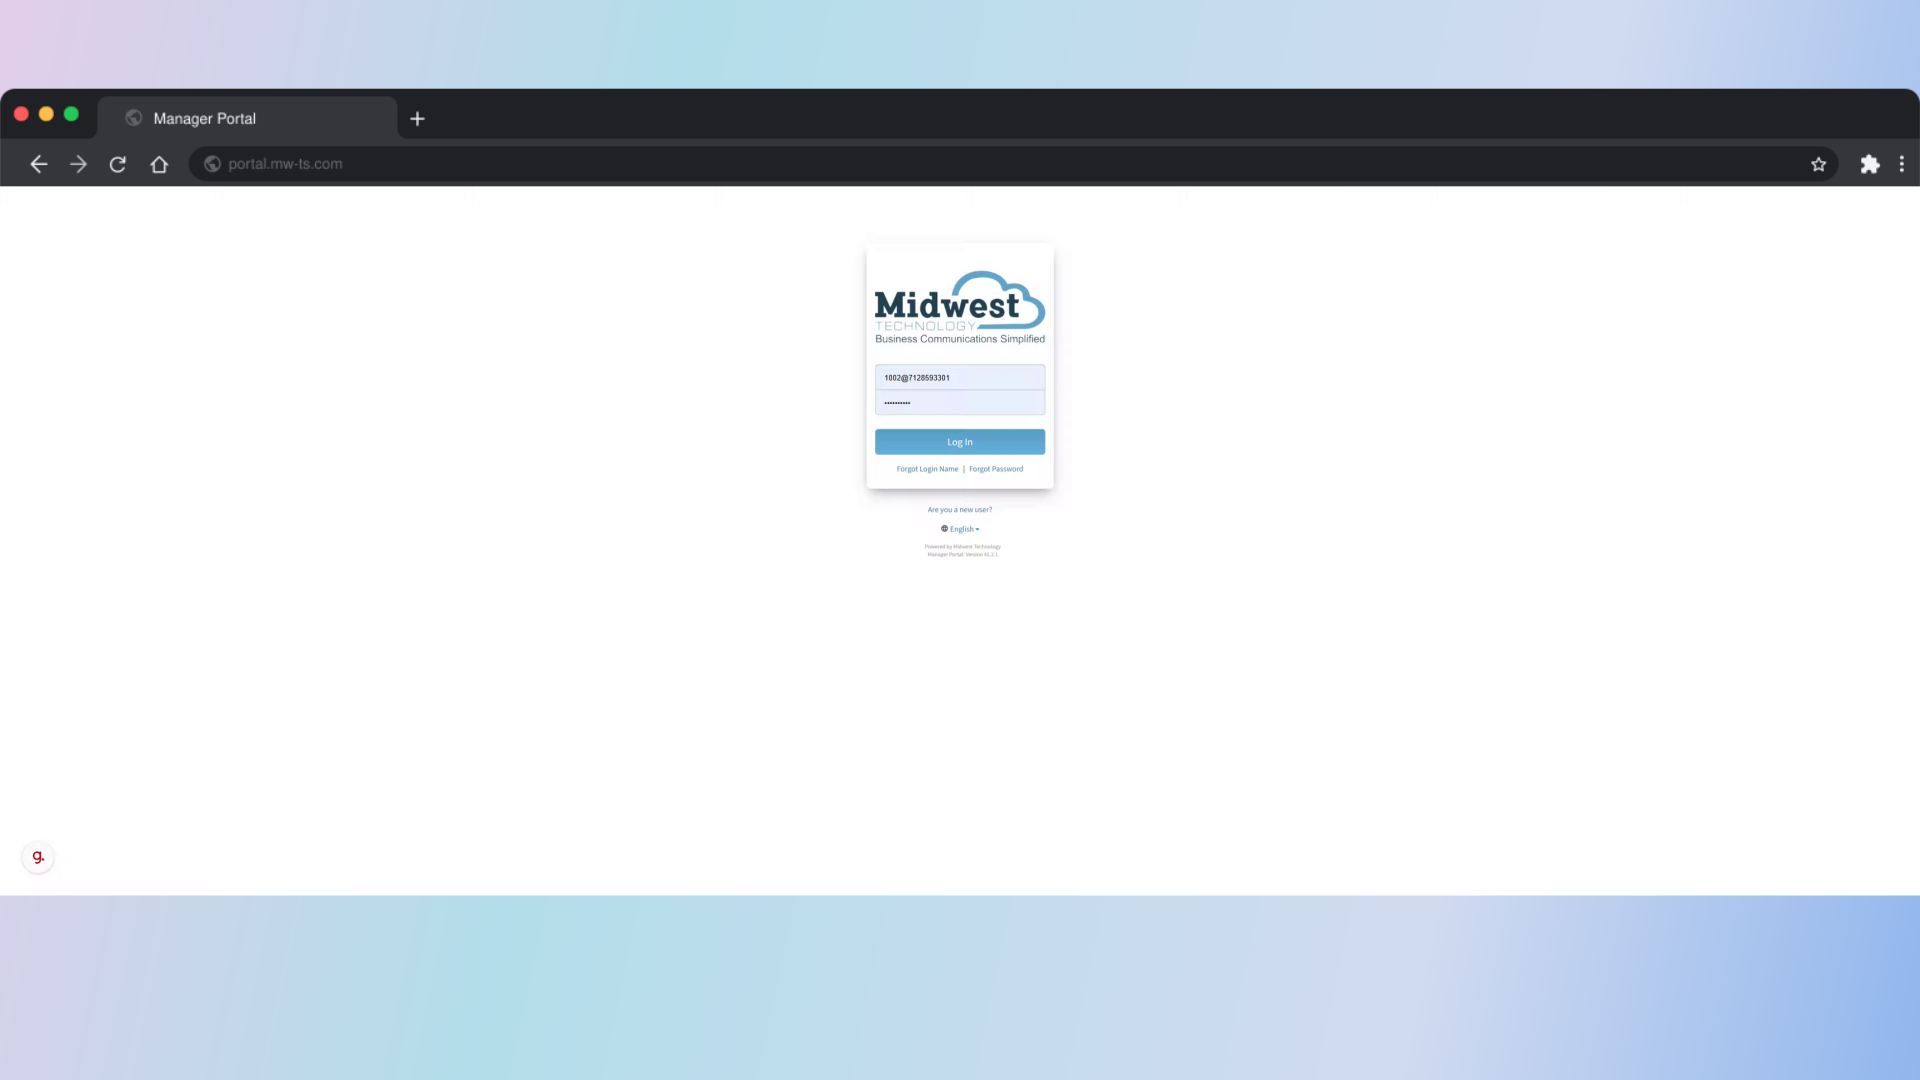
Go to portal.mw-ts.com
1. Open a browser and go to Portal .mw-ts.com
Open a browser and go to Portal.mw-ts.com Enter your username and password
2. Click "Log In"
Click Log In
3. Click on Time Frames
Click on Time Frames

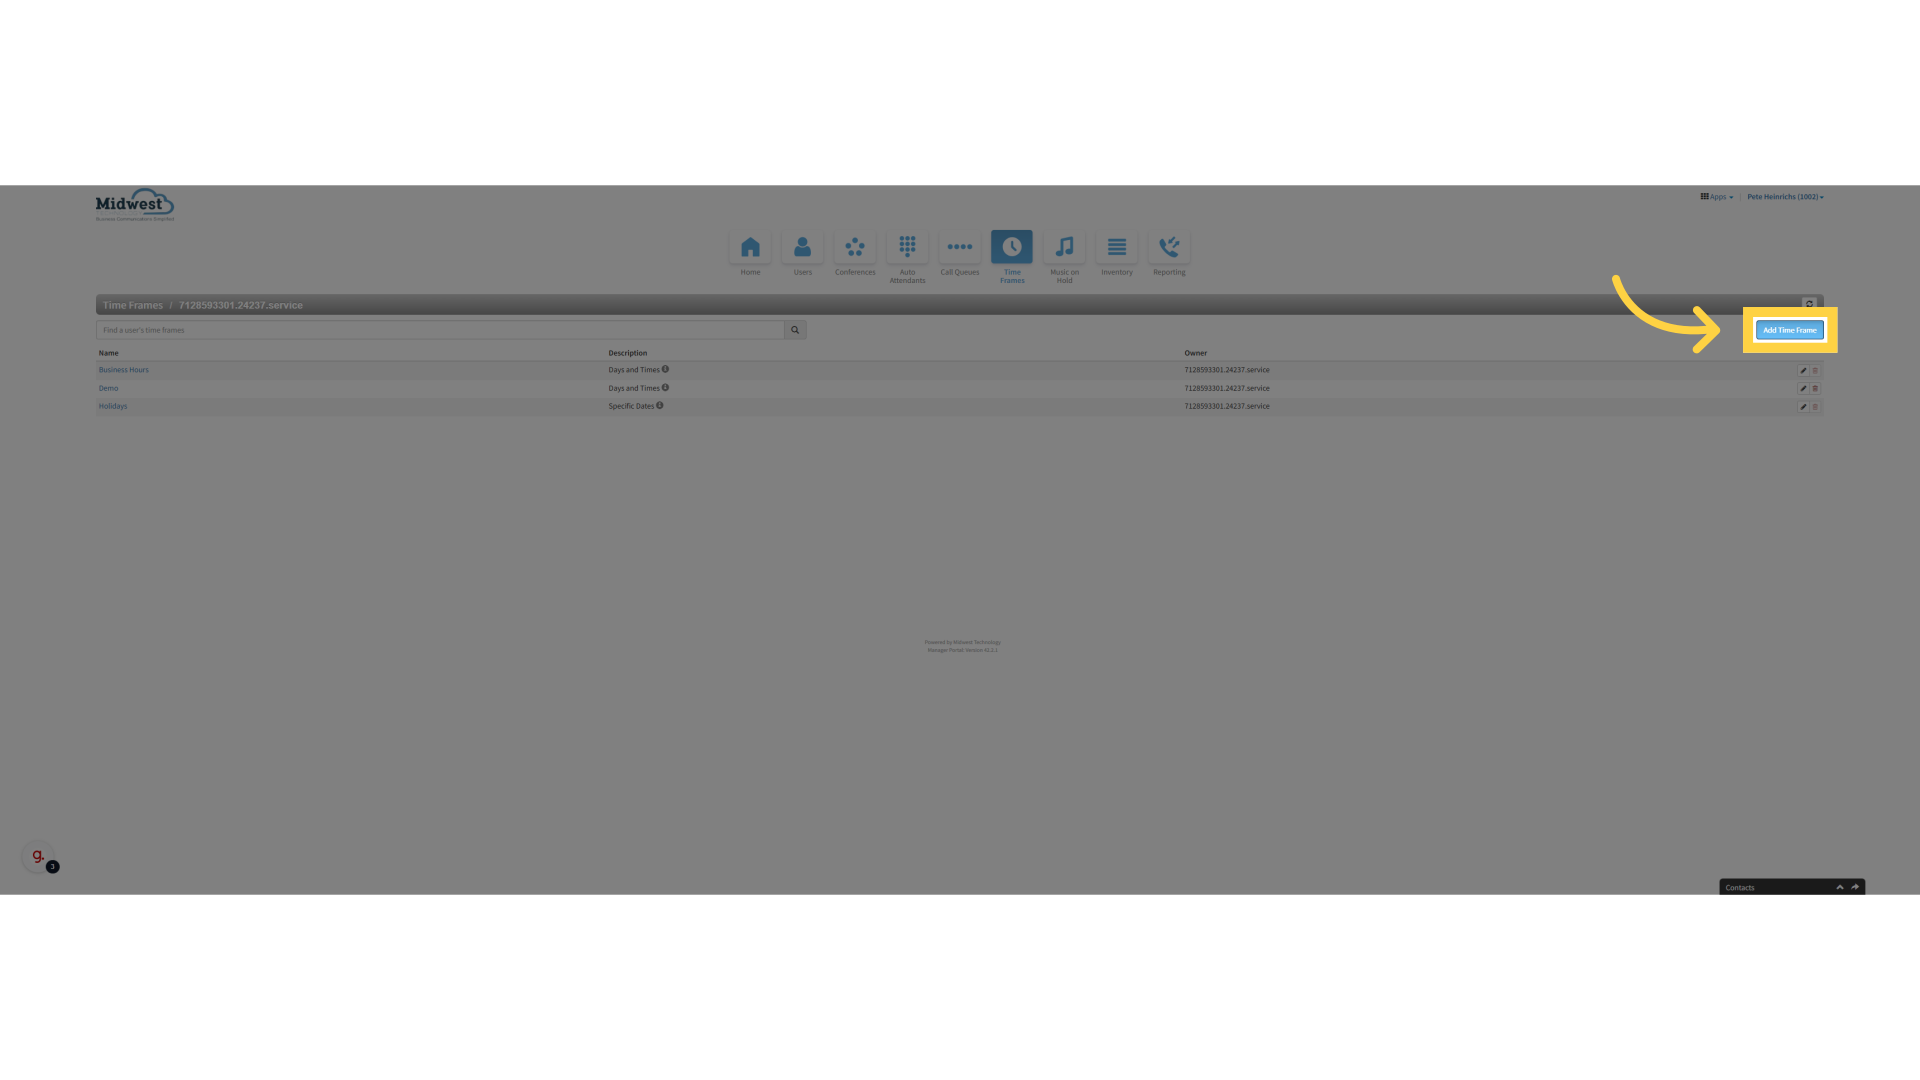
4. Click "Add Time Frame"
Click Add Time Frame
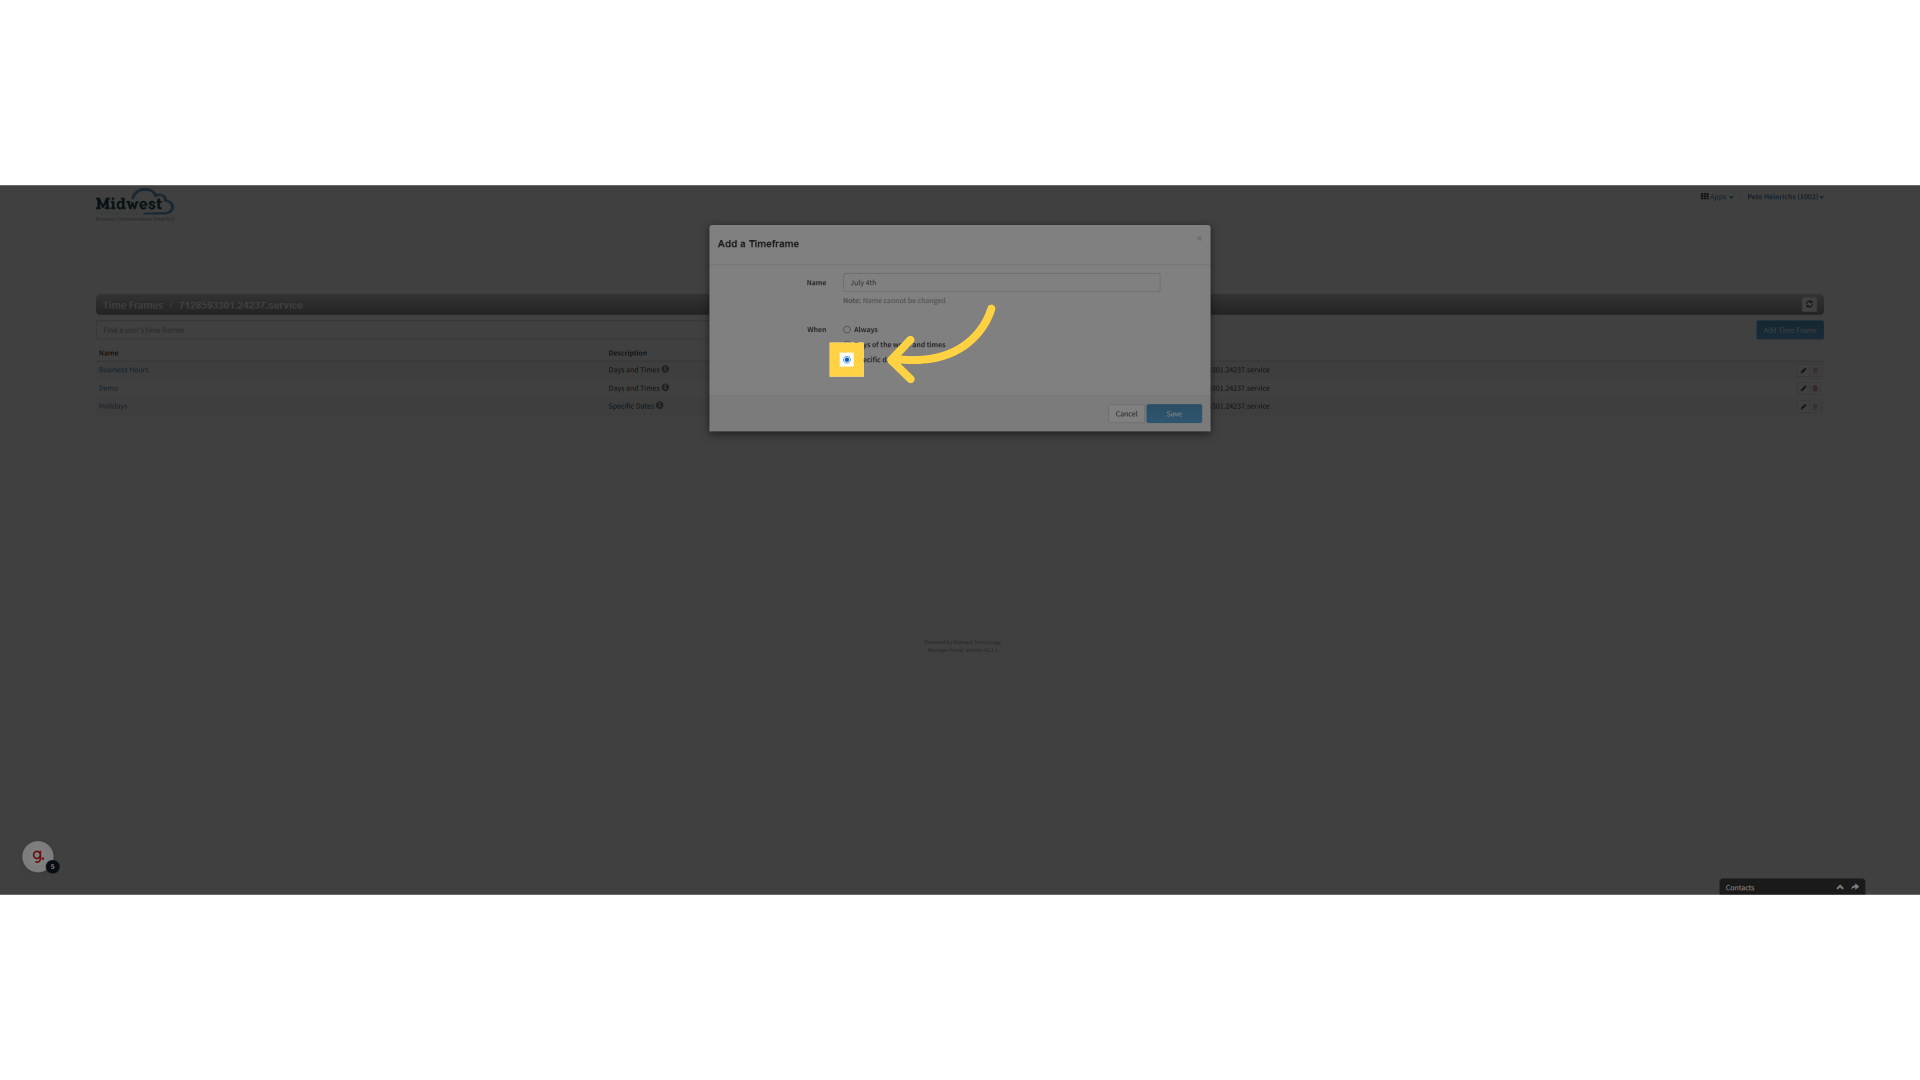
5. Enter the name of the Holiday you would like to use. Note- this can work for weather days as well.
Enter the name of the Holiday you would like to use. Note- this can work for weather days as well.

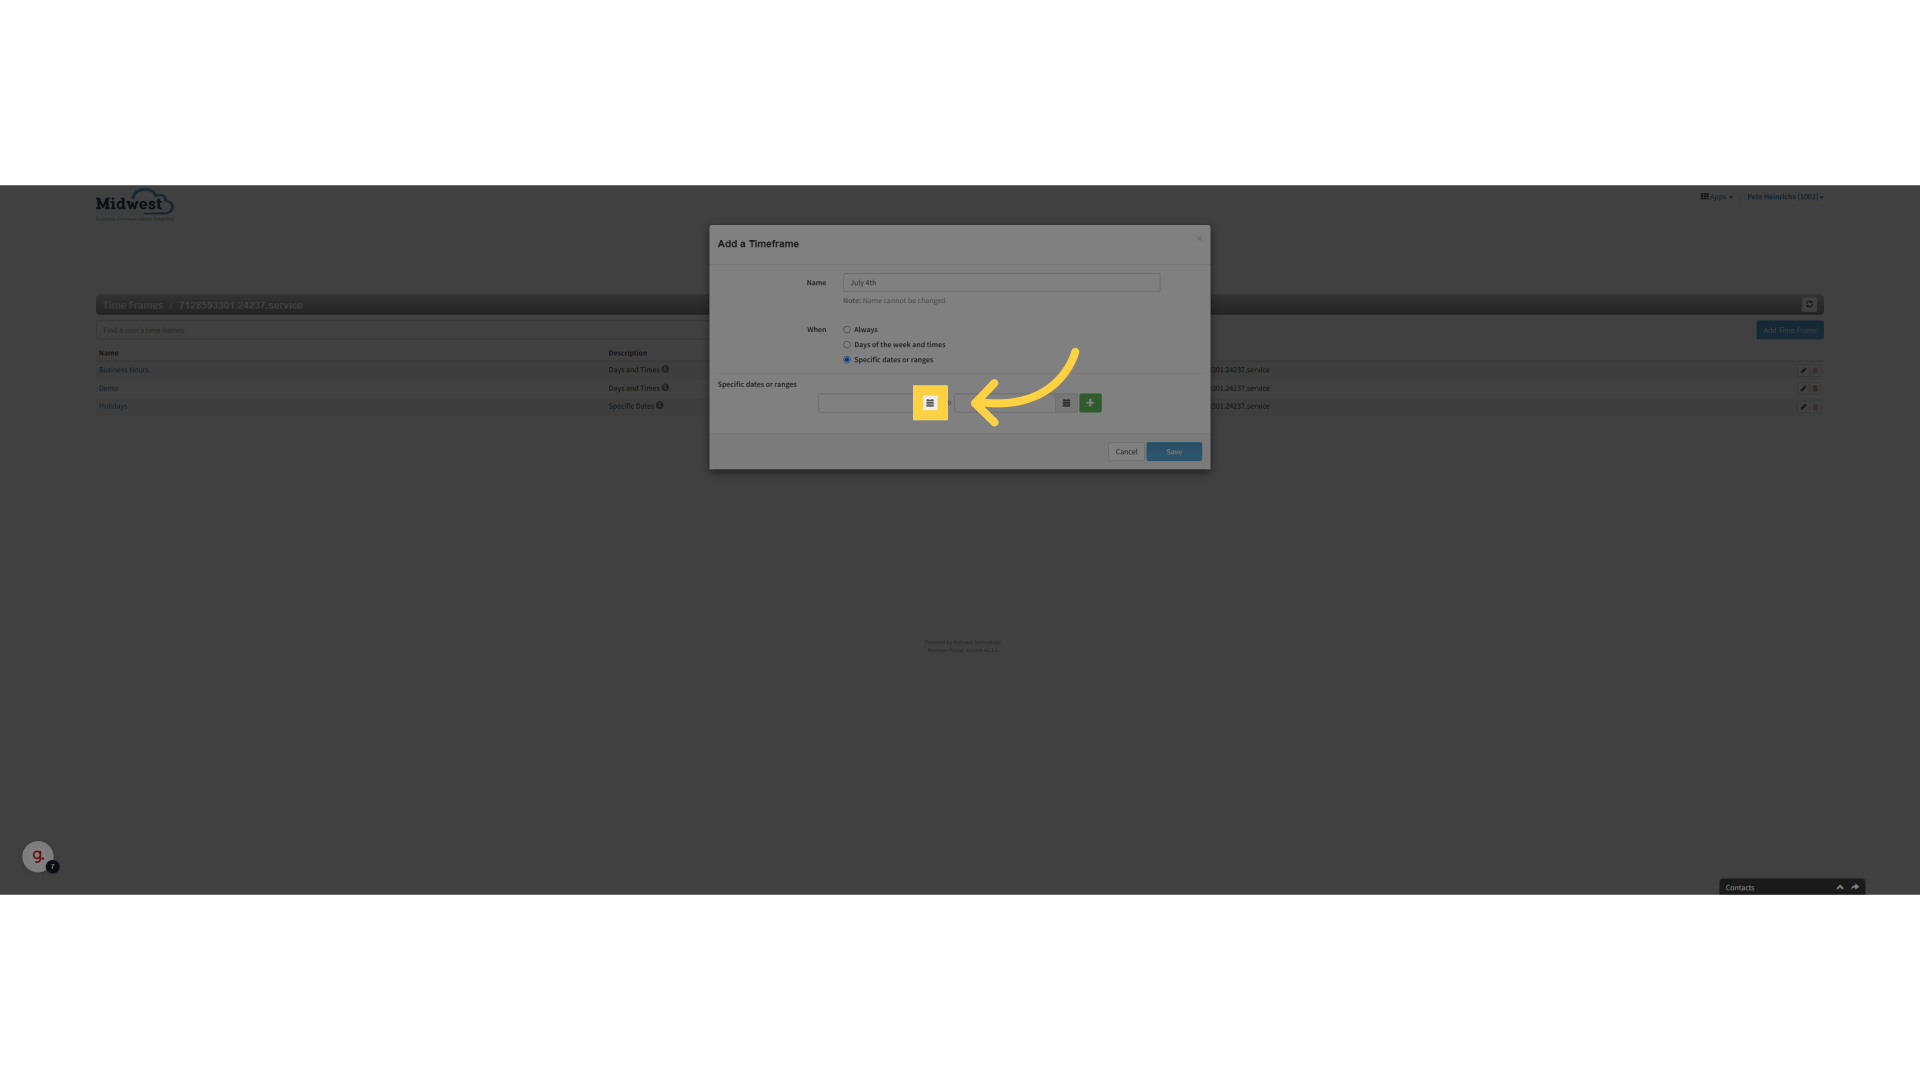
6. Click on specific date or range of dates
Click on specific date or range of dates
7. Select the calendar date to begin the Holiday
Select the calendar date to begin the Holiday
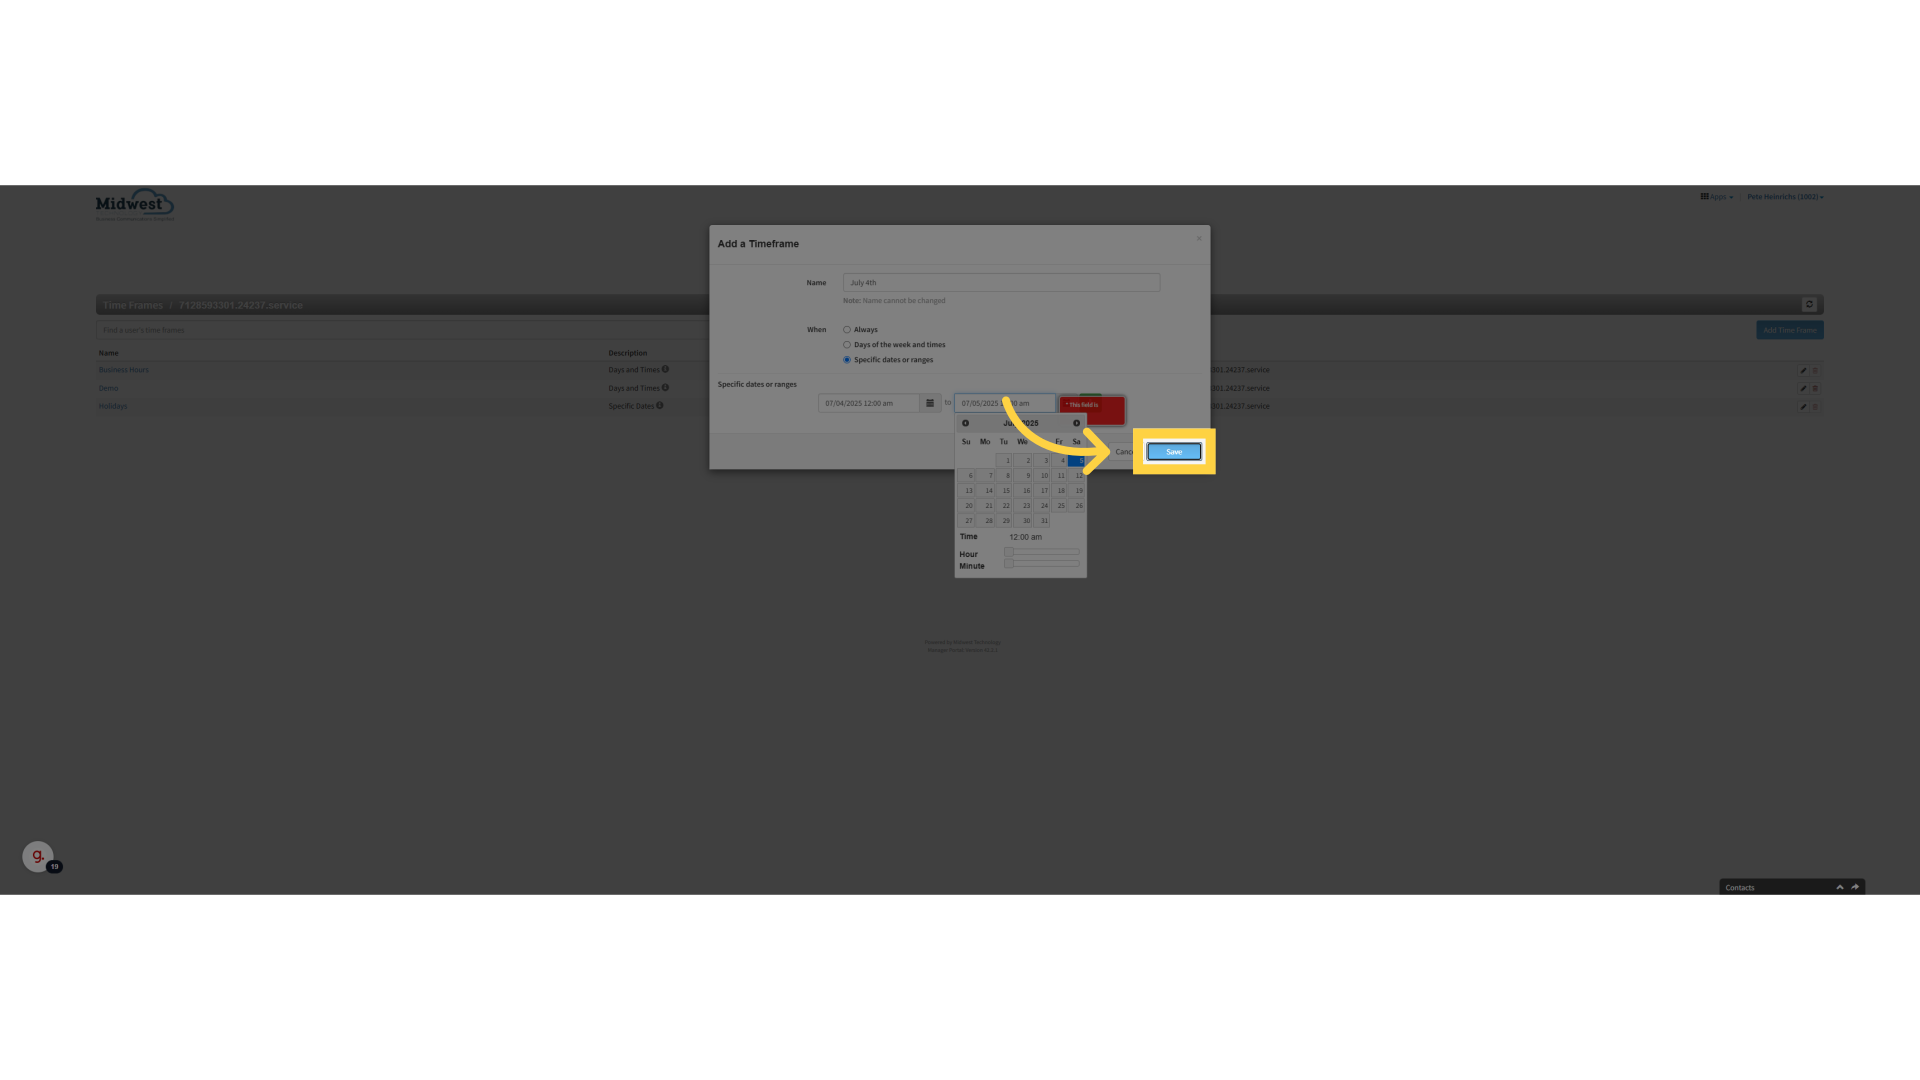
8. Select the date that the Holiday will end
Select the date that the Holiday will end

9. Click "Save"
Save the changes made
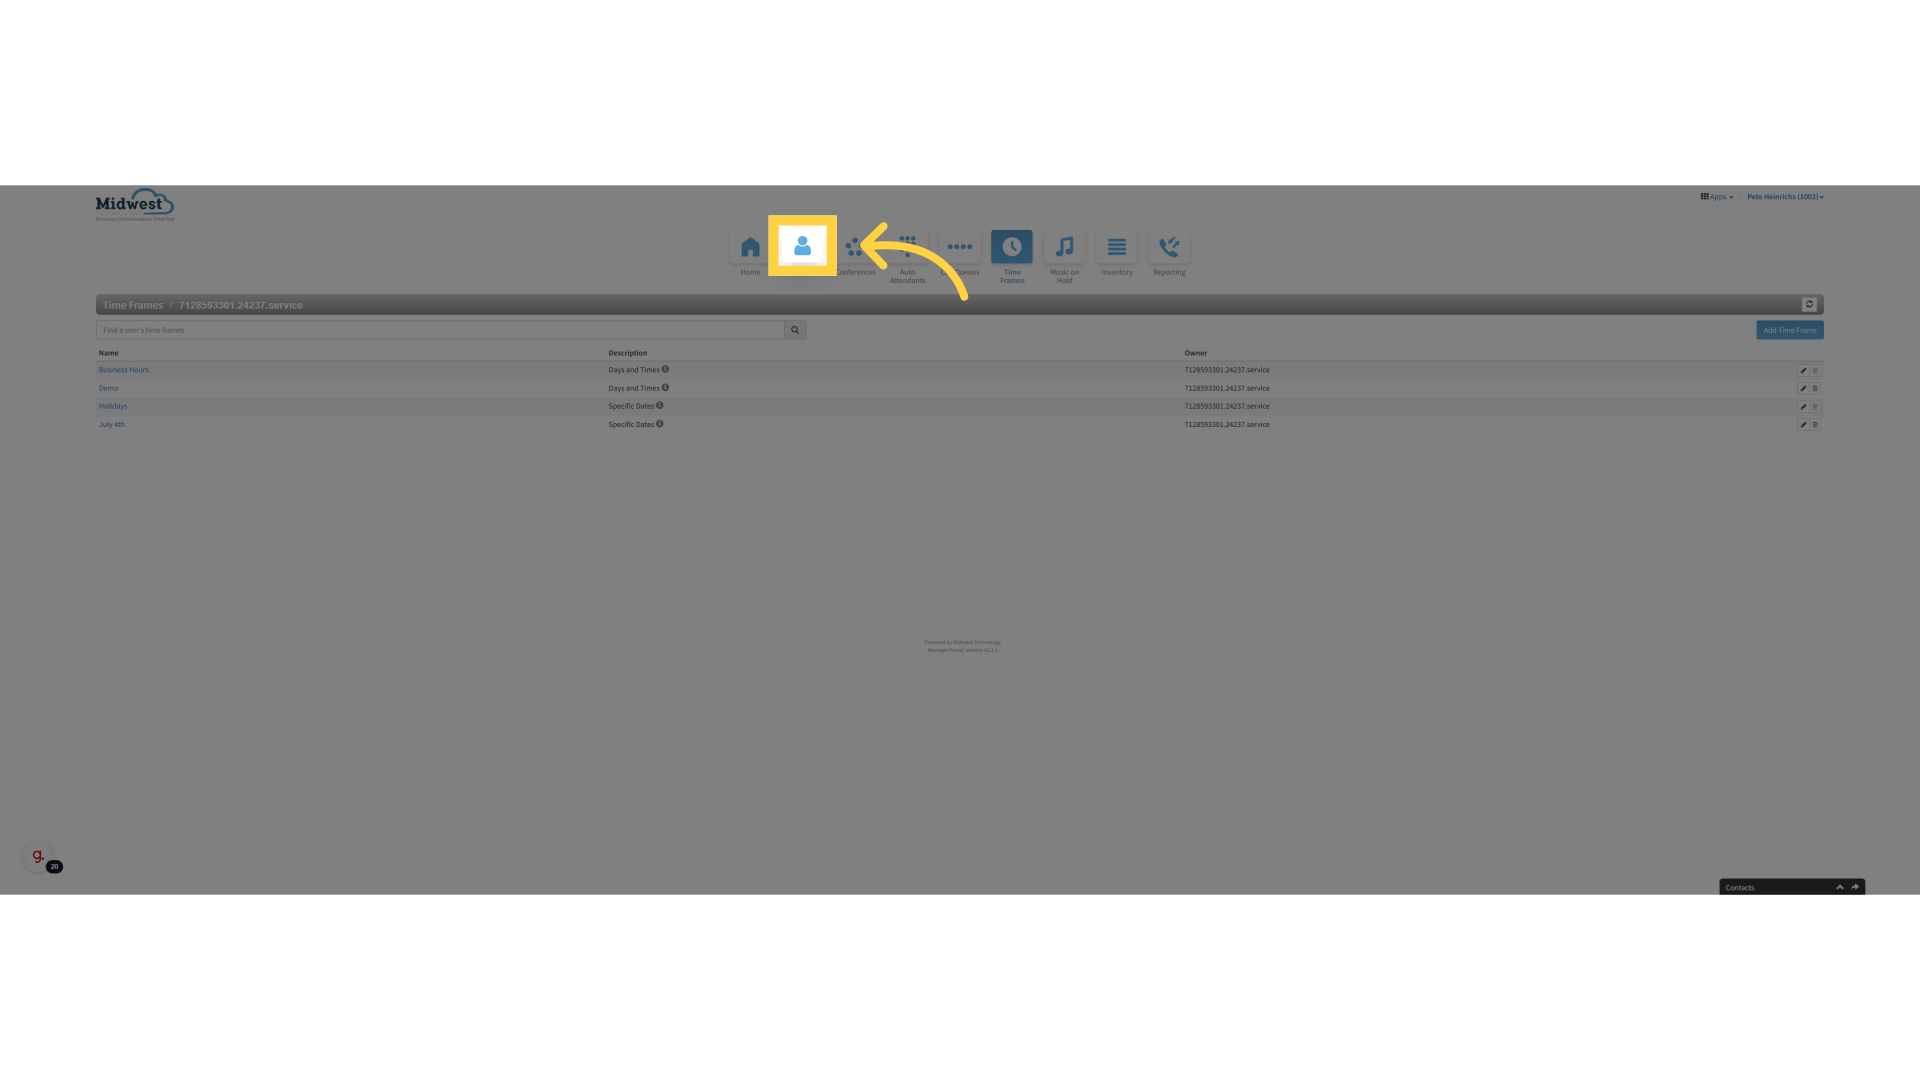
10. Navigate to Users
Navigate to Users
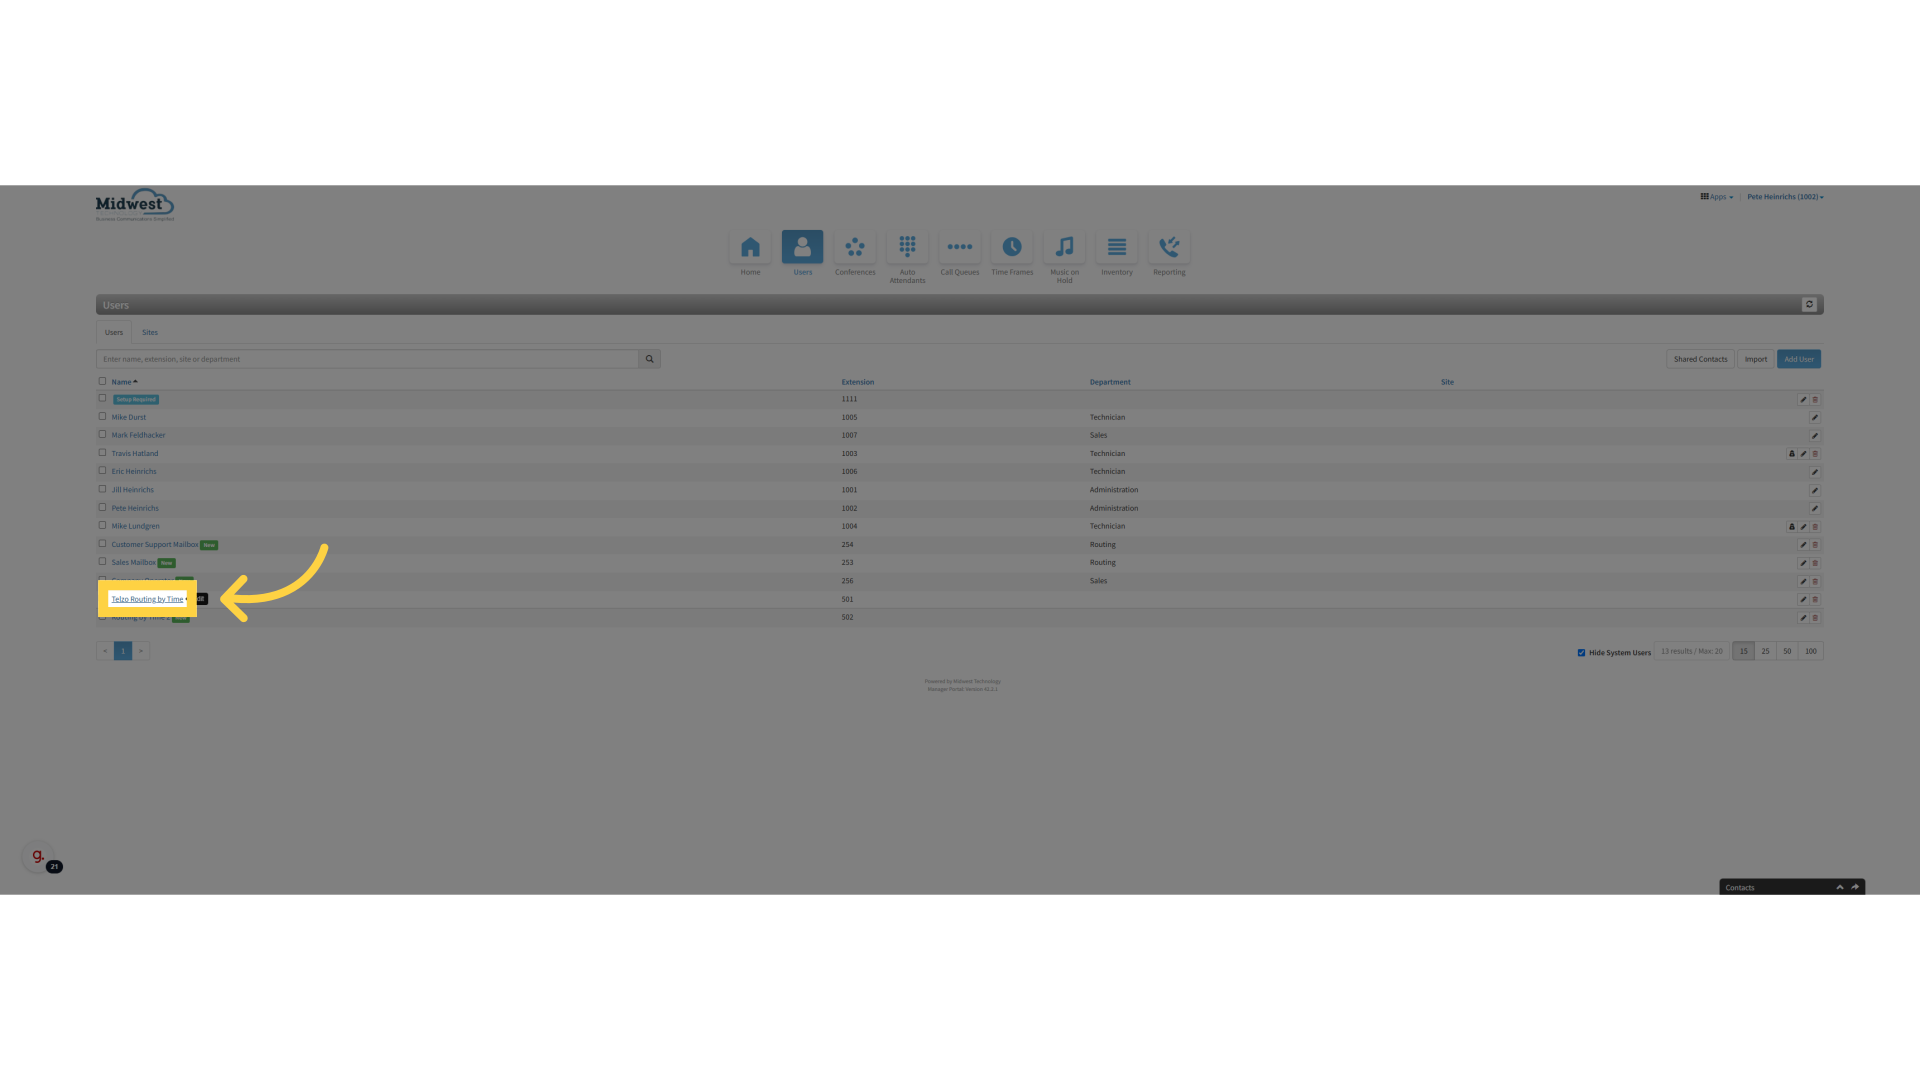
11. Select the Extension that routes your incoming calls.
Select the Extension that routes your incoming calls.
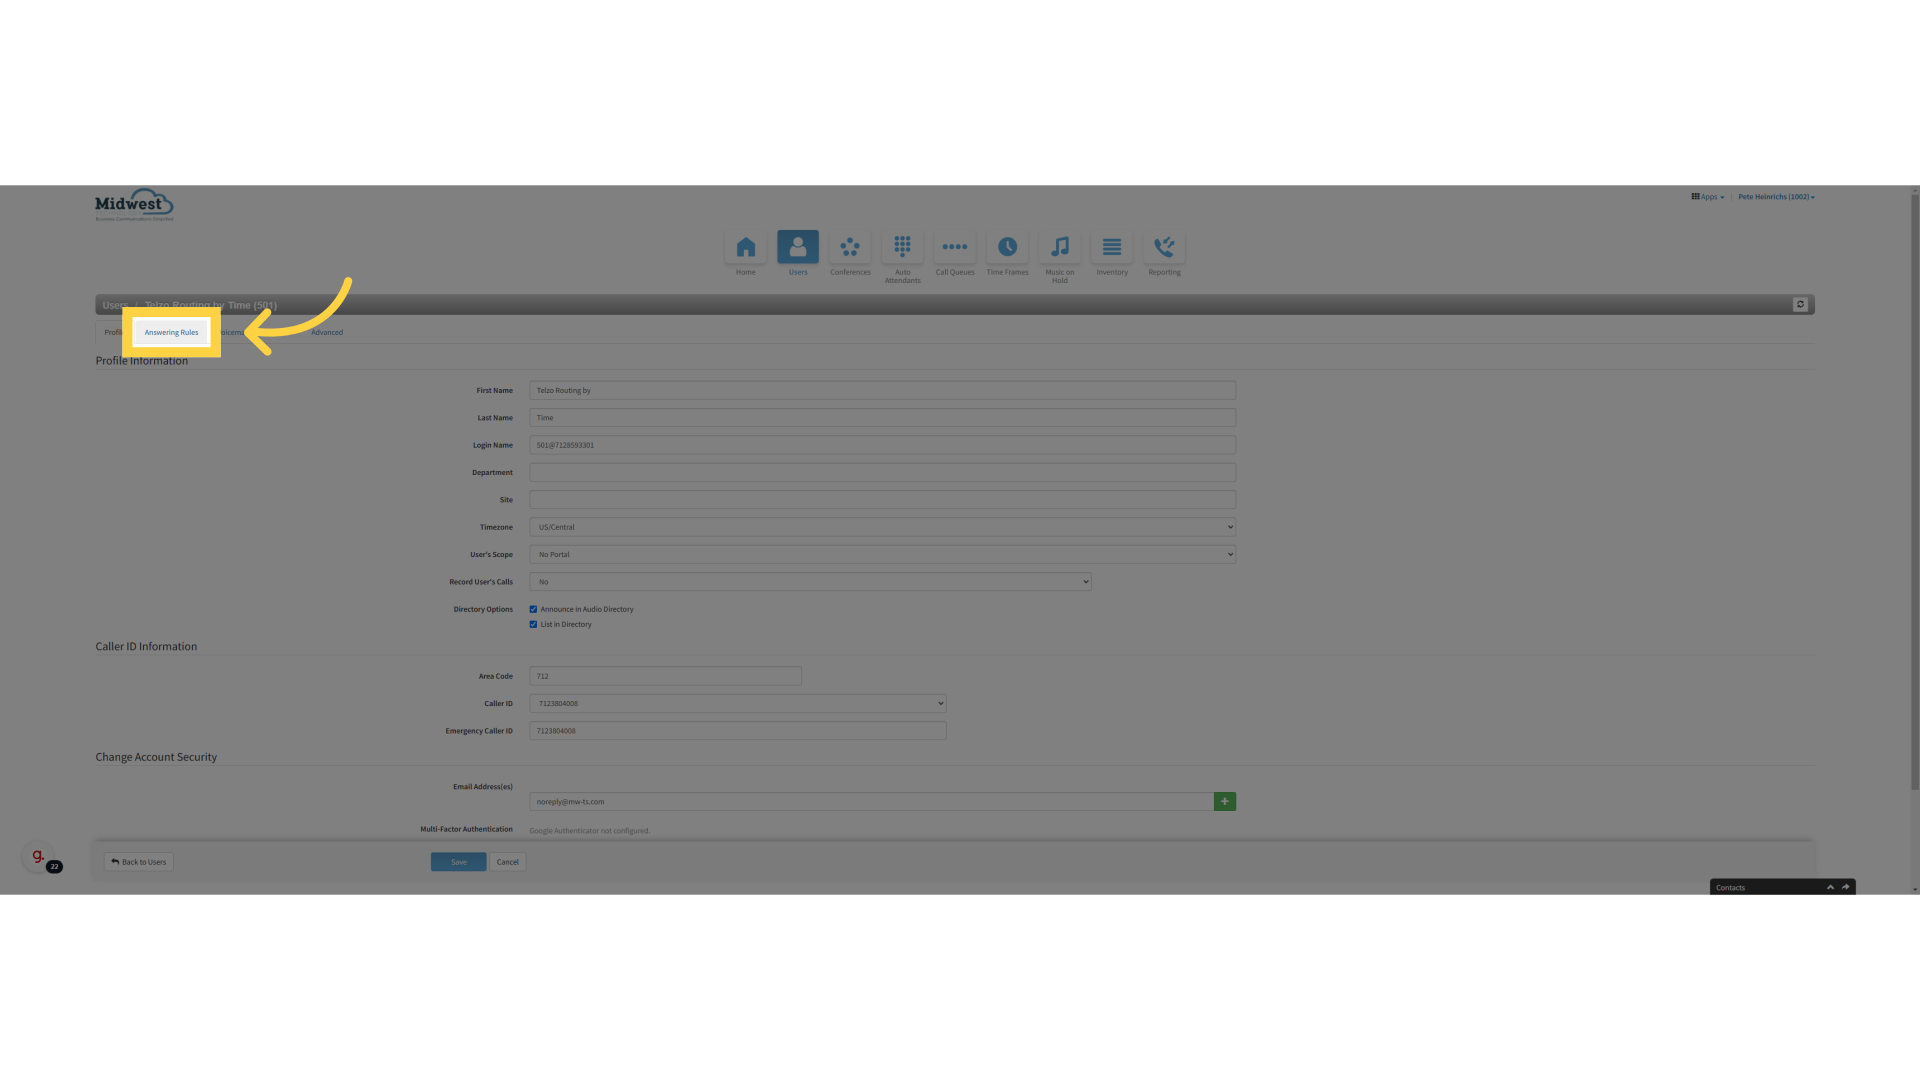
12. Click "Answering Rules"
Click "Answering Rules"
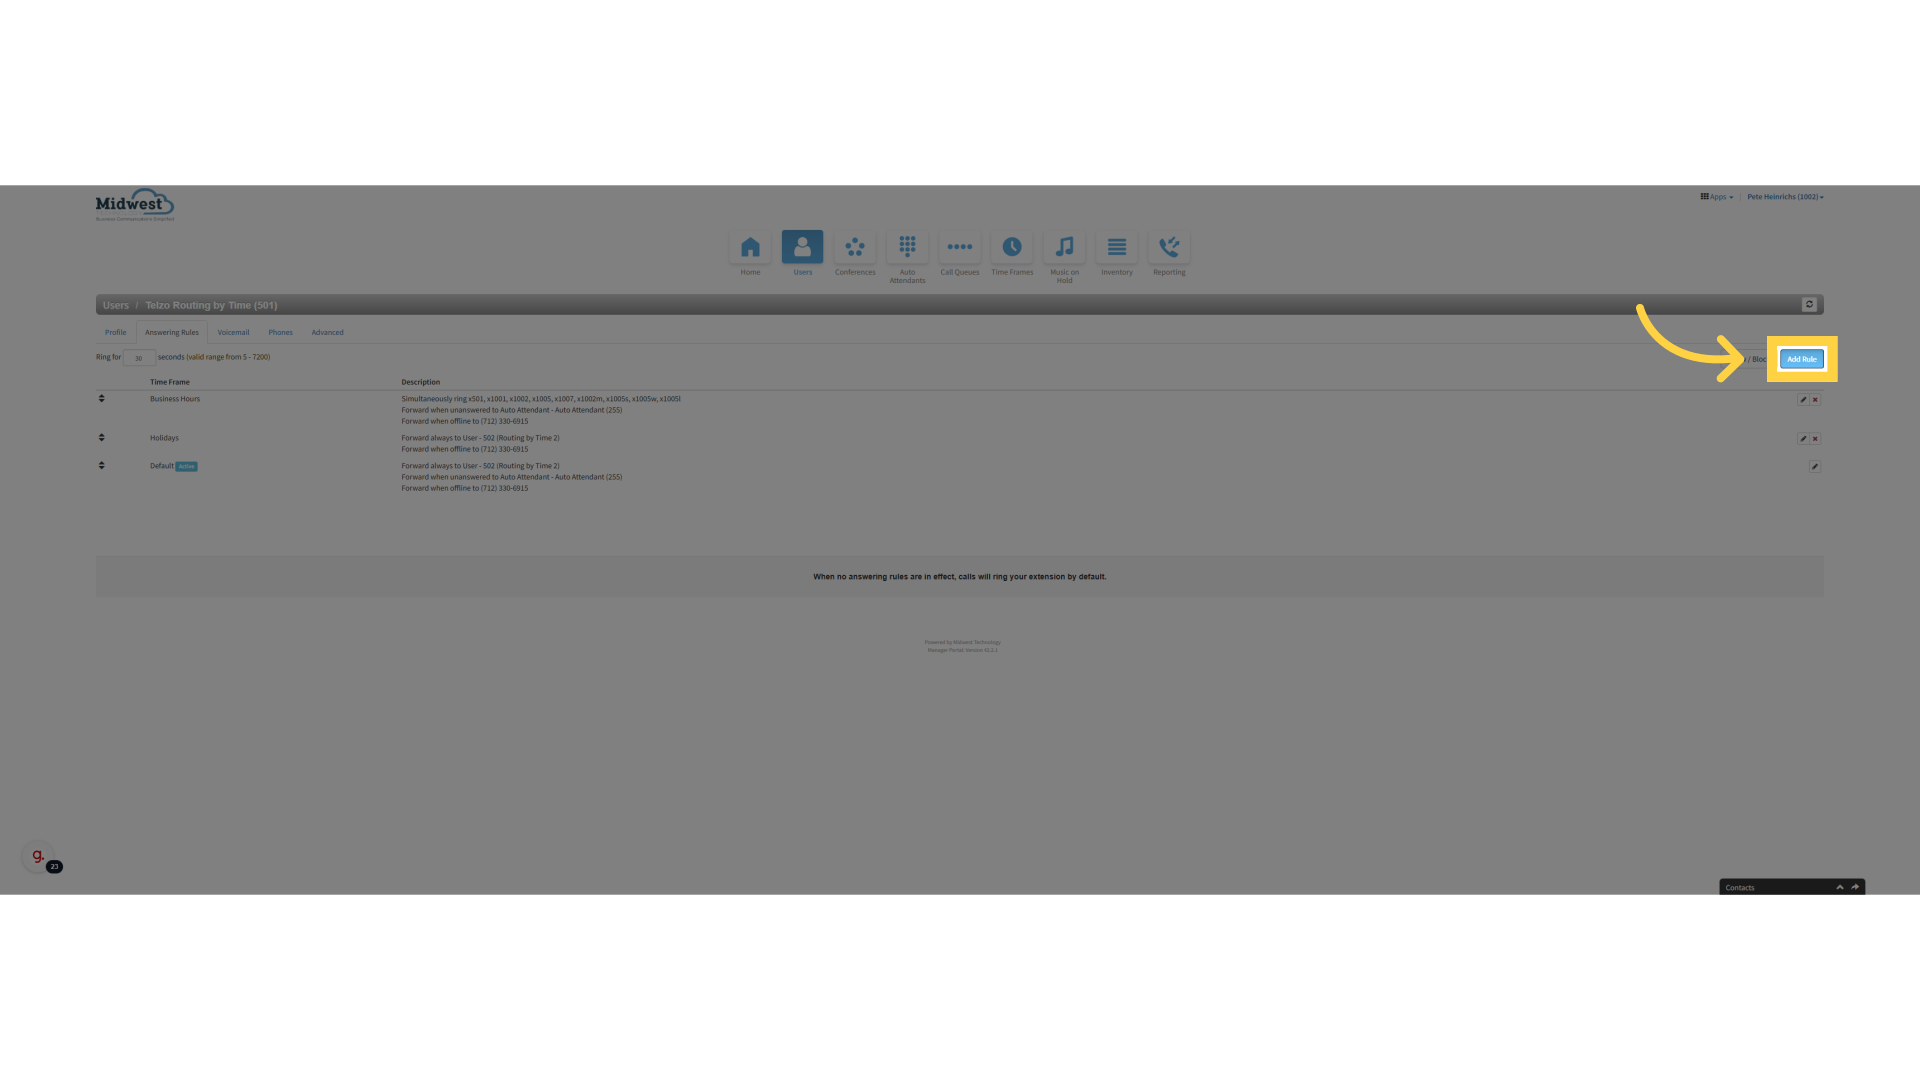
13. Click "Add Rule"
Click "Add Rule"
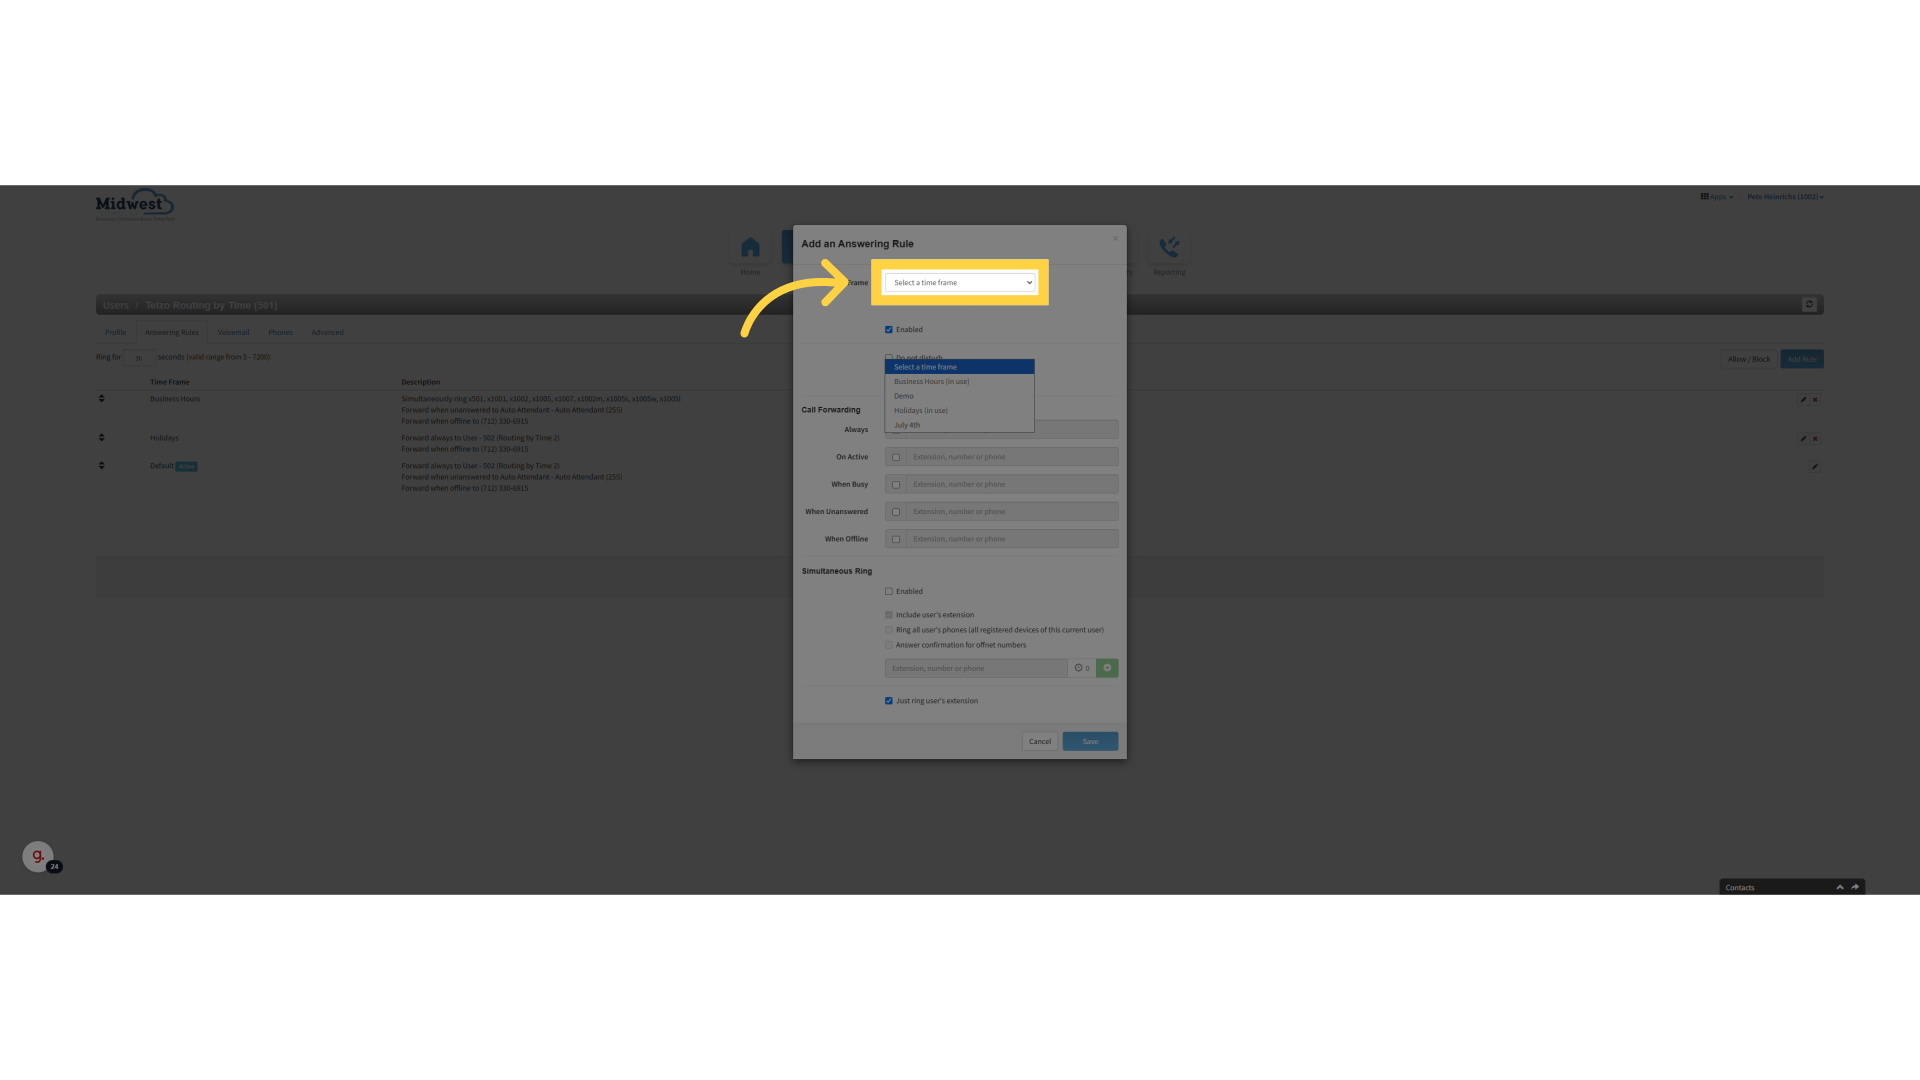
14. Click on the new timeframe for the Holiday you just created
Click on the new timeframe for the Holiday you just created
15. If you are closed for the entire day select the always checkbox
If you are closed for the entire day select the always checkbox

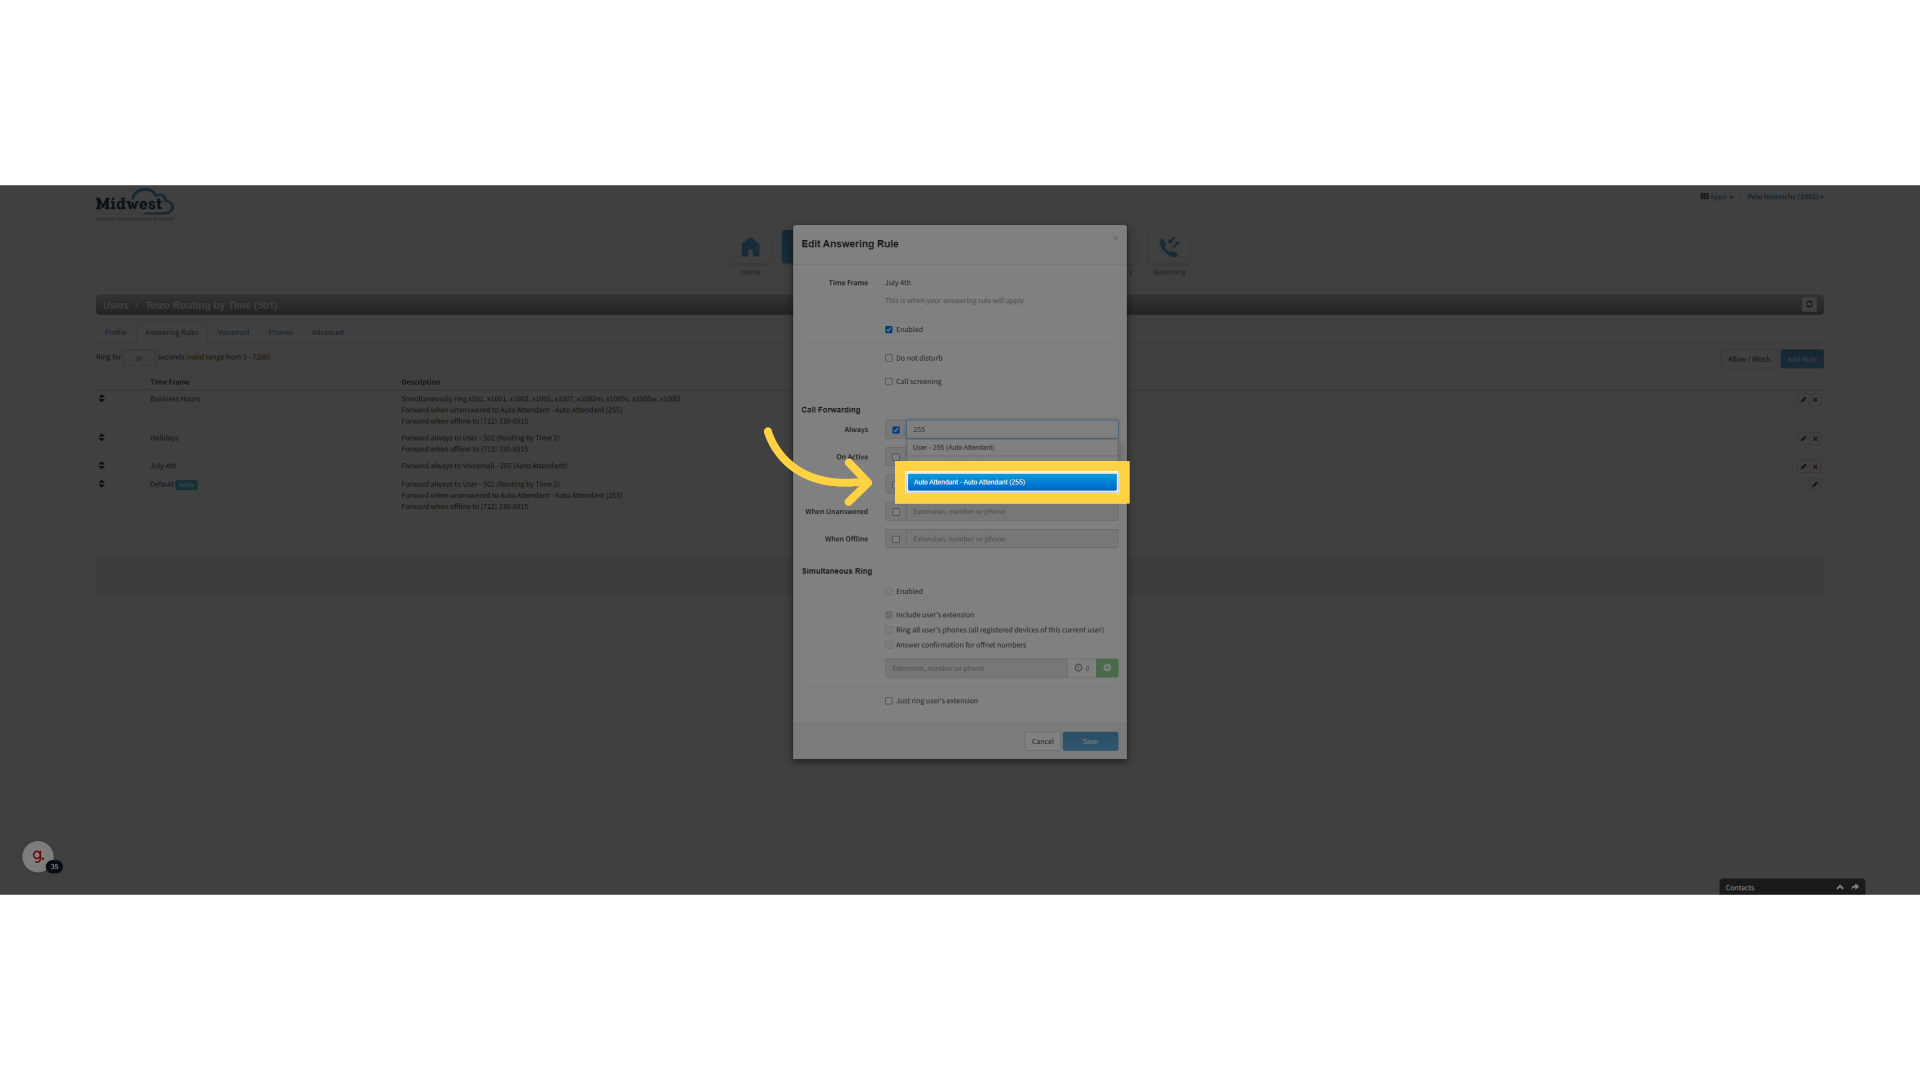
16. Click on the extension, number or phone option
Click on the extension, number or phone option

17. In this case we are sending all calls to the Auto Attendant
In this case we are sending all calls to the Auto Attendant so we selected Auto Attendant 255
18. Click "Save"
Save the changes

This guide covered creating time frames, adding rules, and setting up call routing for a new Holiday in the Mw-ts application.