Cloudtalk-Forwarding an Extension

How to set up call forwarding for an extension.
Go to portal.mw-ts.com
1. Open a browser and go to portal.mw-ts.com
Open a browser and go to portal.mw-ts.com

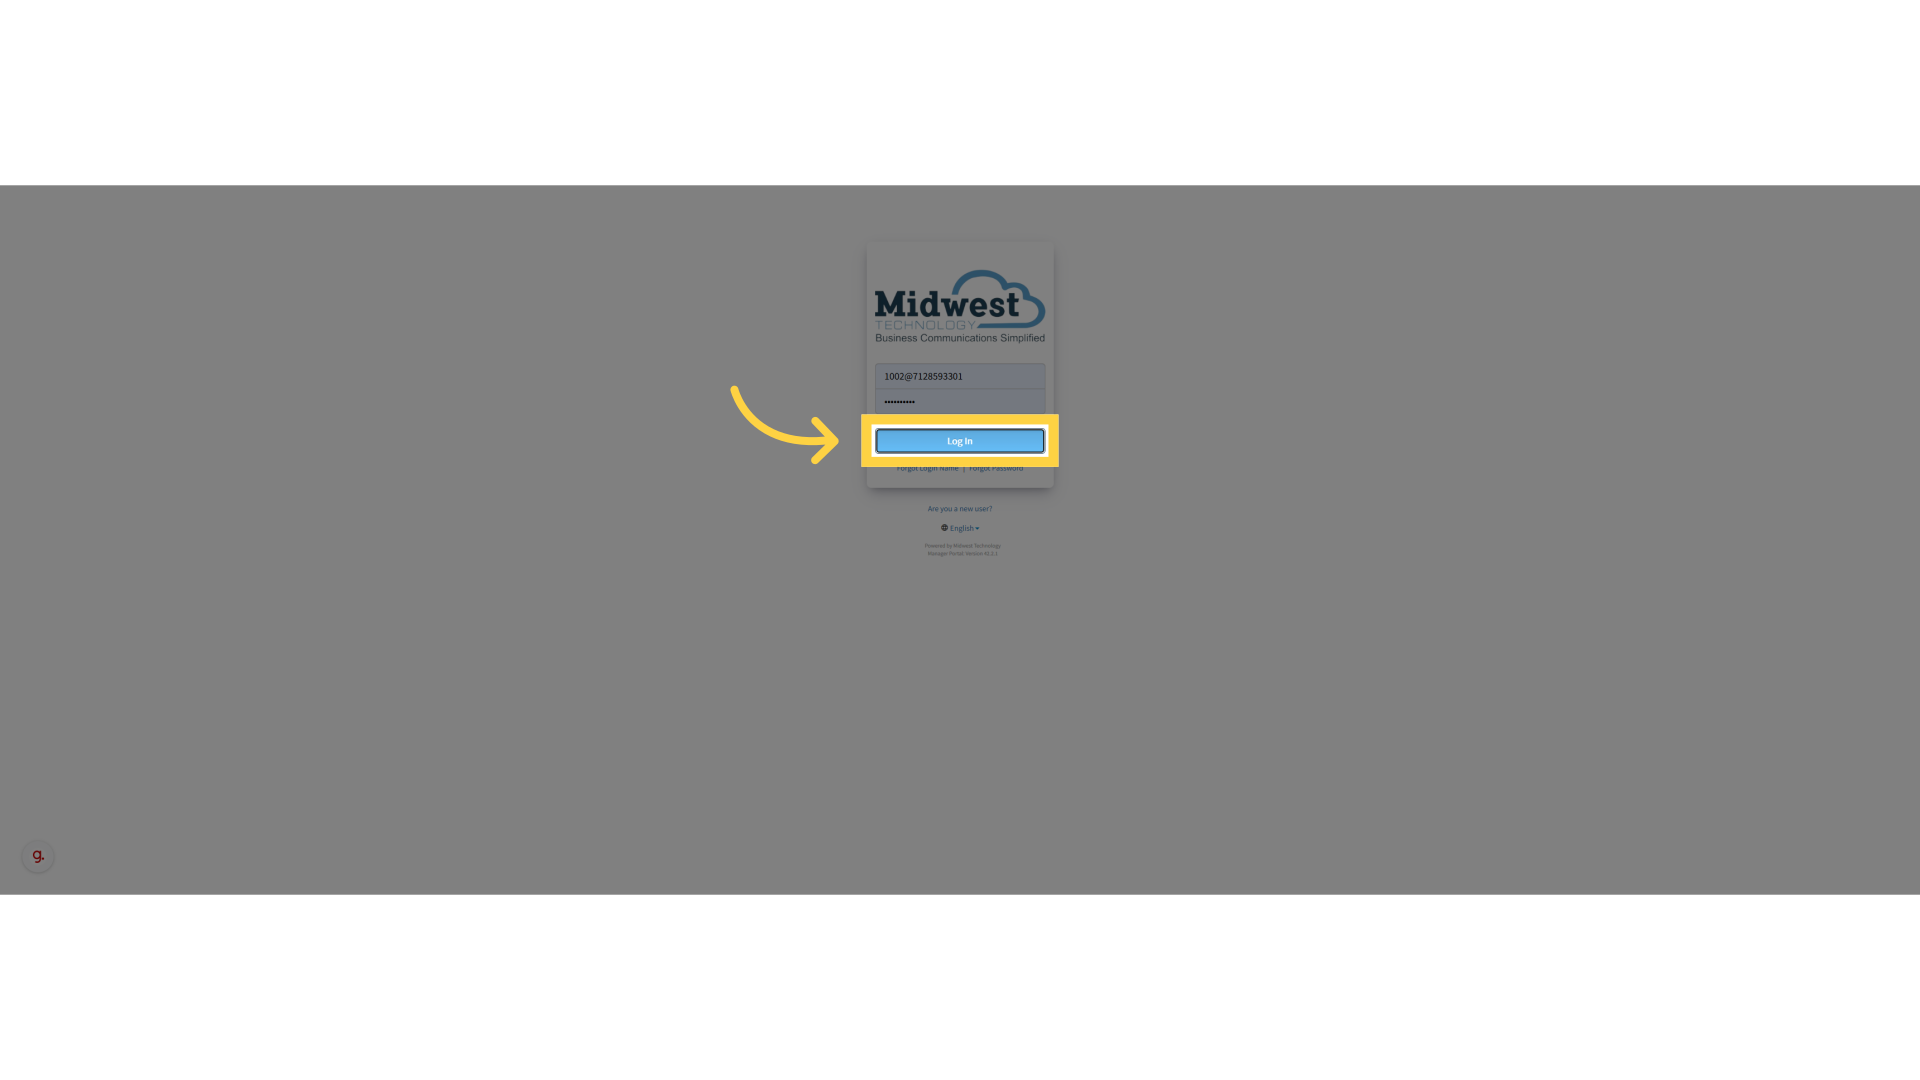
2. Enter username and Password
Enter username and Password
3. Click "Log In"
Click Log In
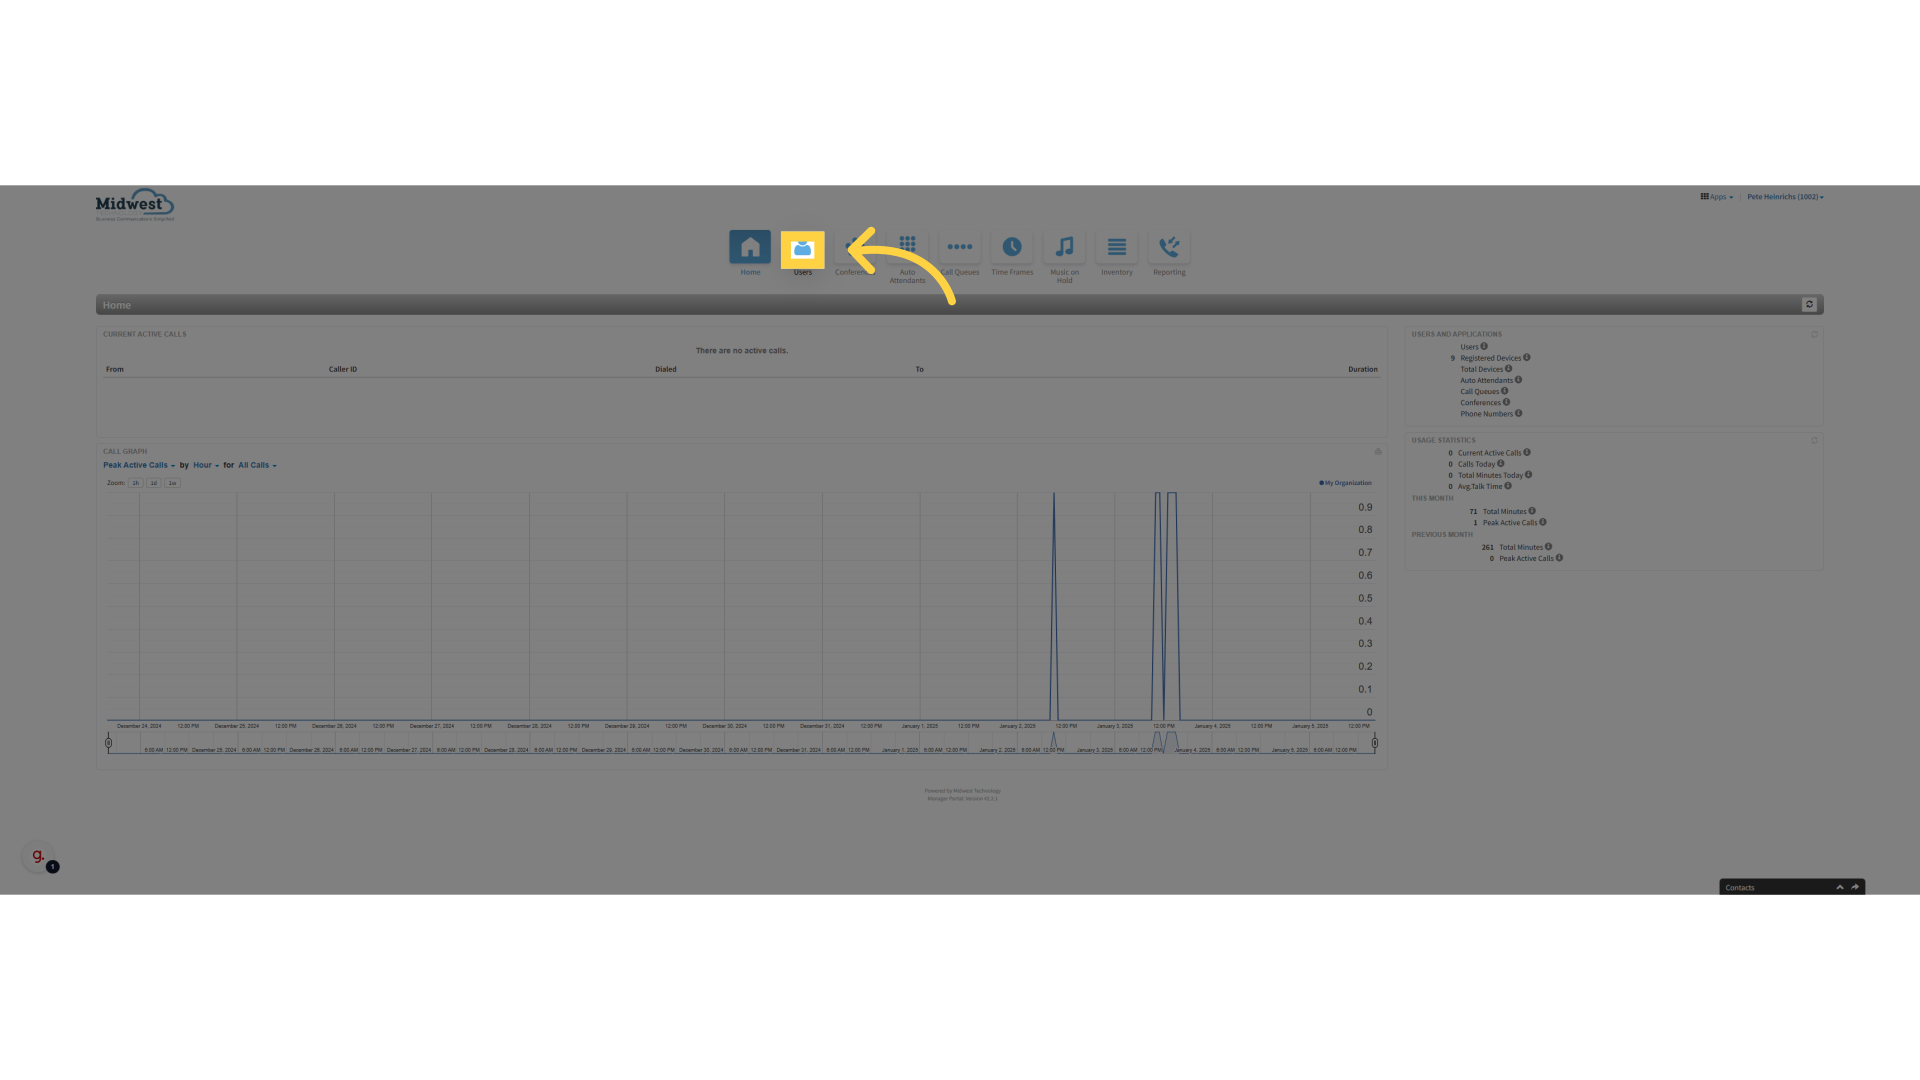
4. Click on the Users Icon
Click on the Users Icon
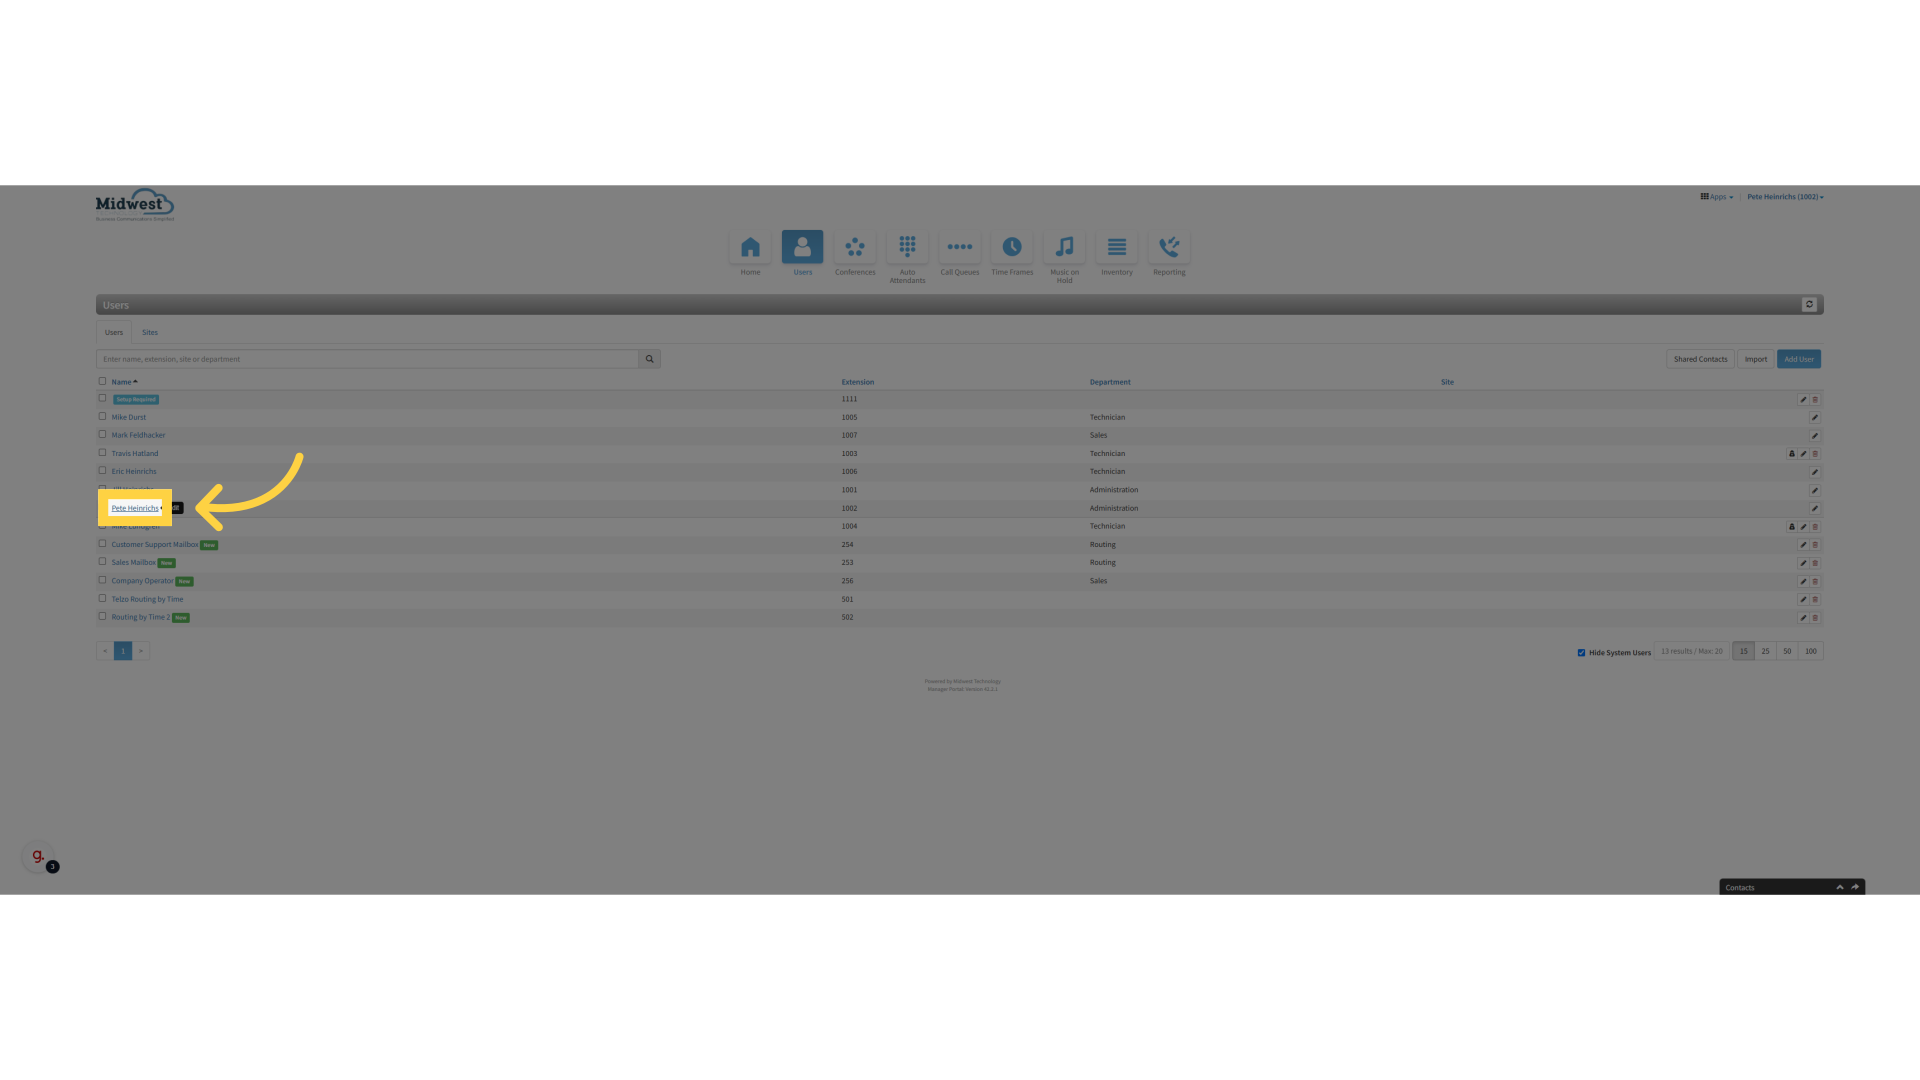
5. Select the user you would like to set up call forwarding for
Select the user you would like to set up call forwarding for
6. Click "Answering Rules"
Click "Answering Rules"

7. Click "Add Rule"
Click "Add Rule"

8. Click "Select a timeframe you would like the forwarding to be active for.
Click "Select a timeframe you would like the forwarding to be active for.

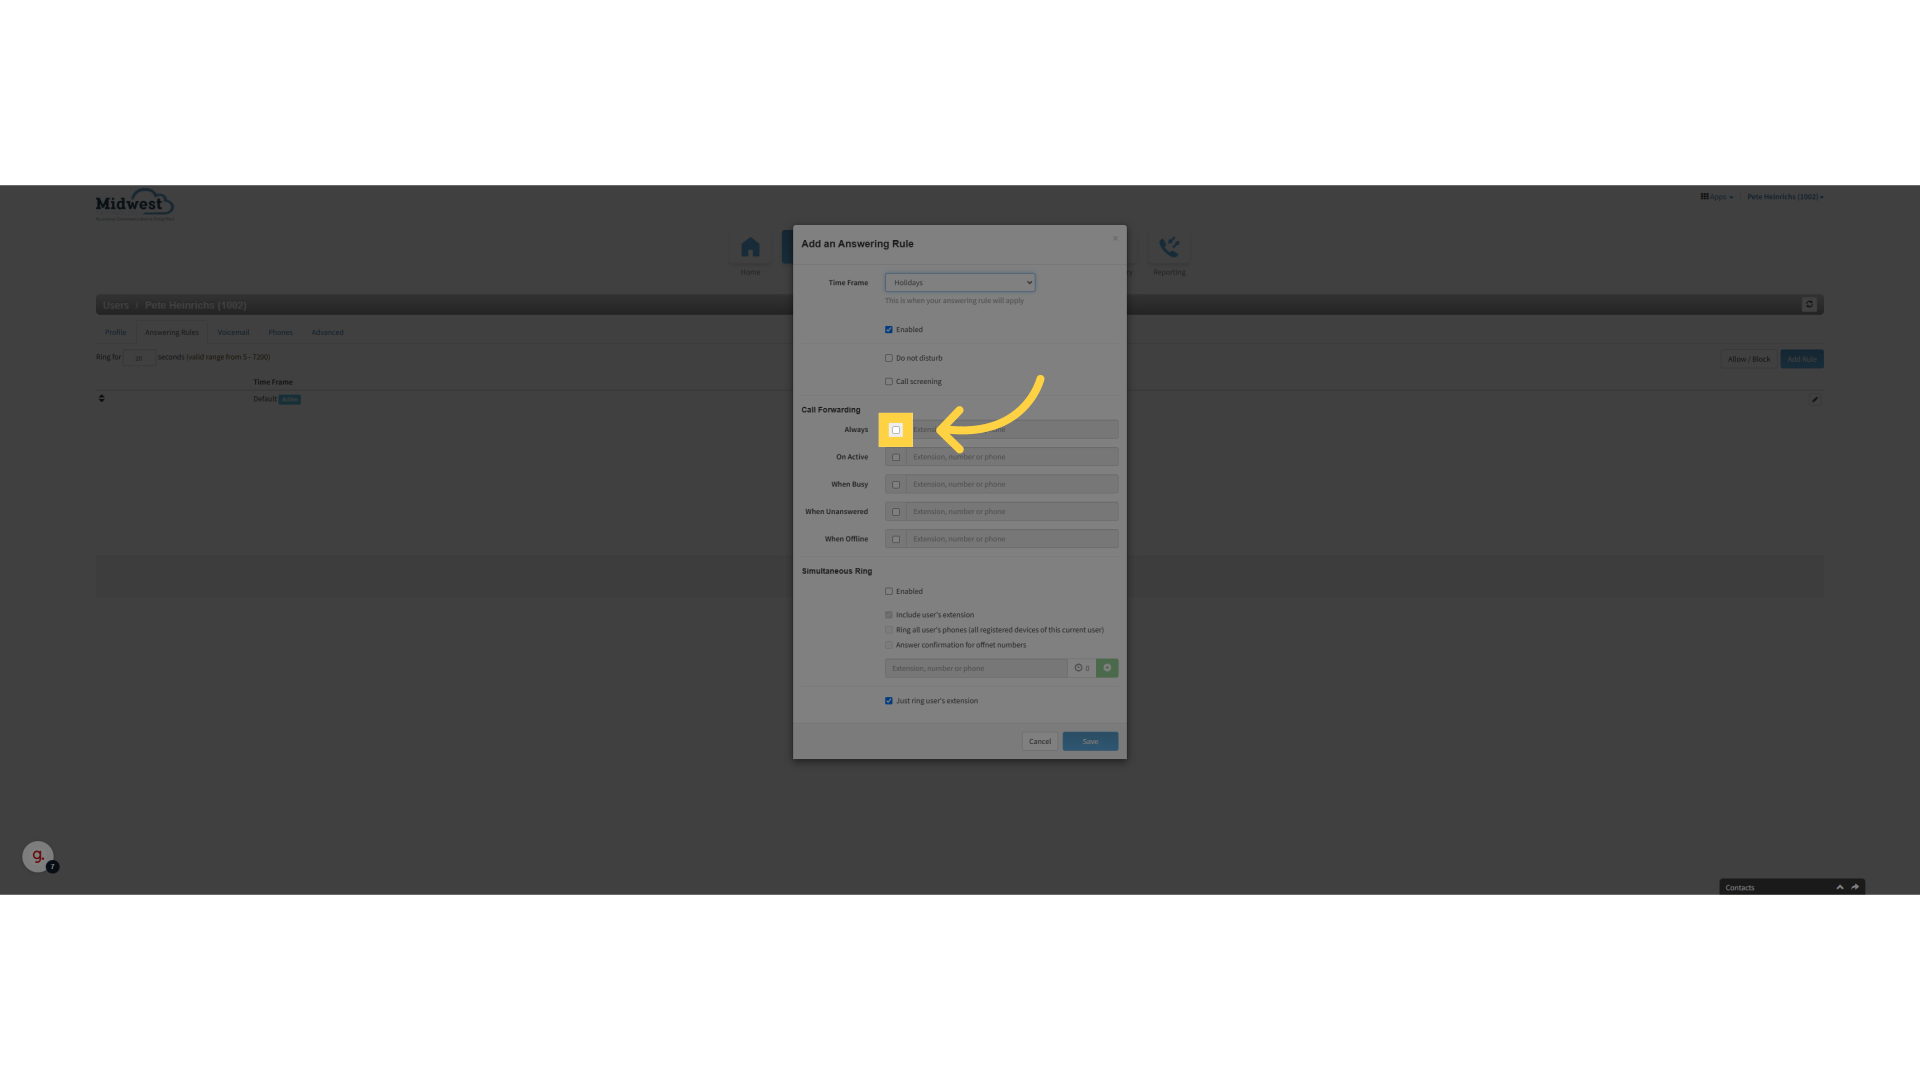
9. Select the Always checkbox
Select the Always checkbox
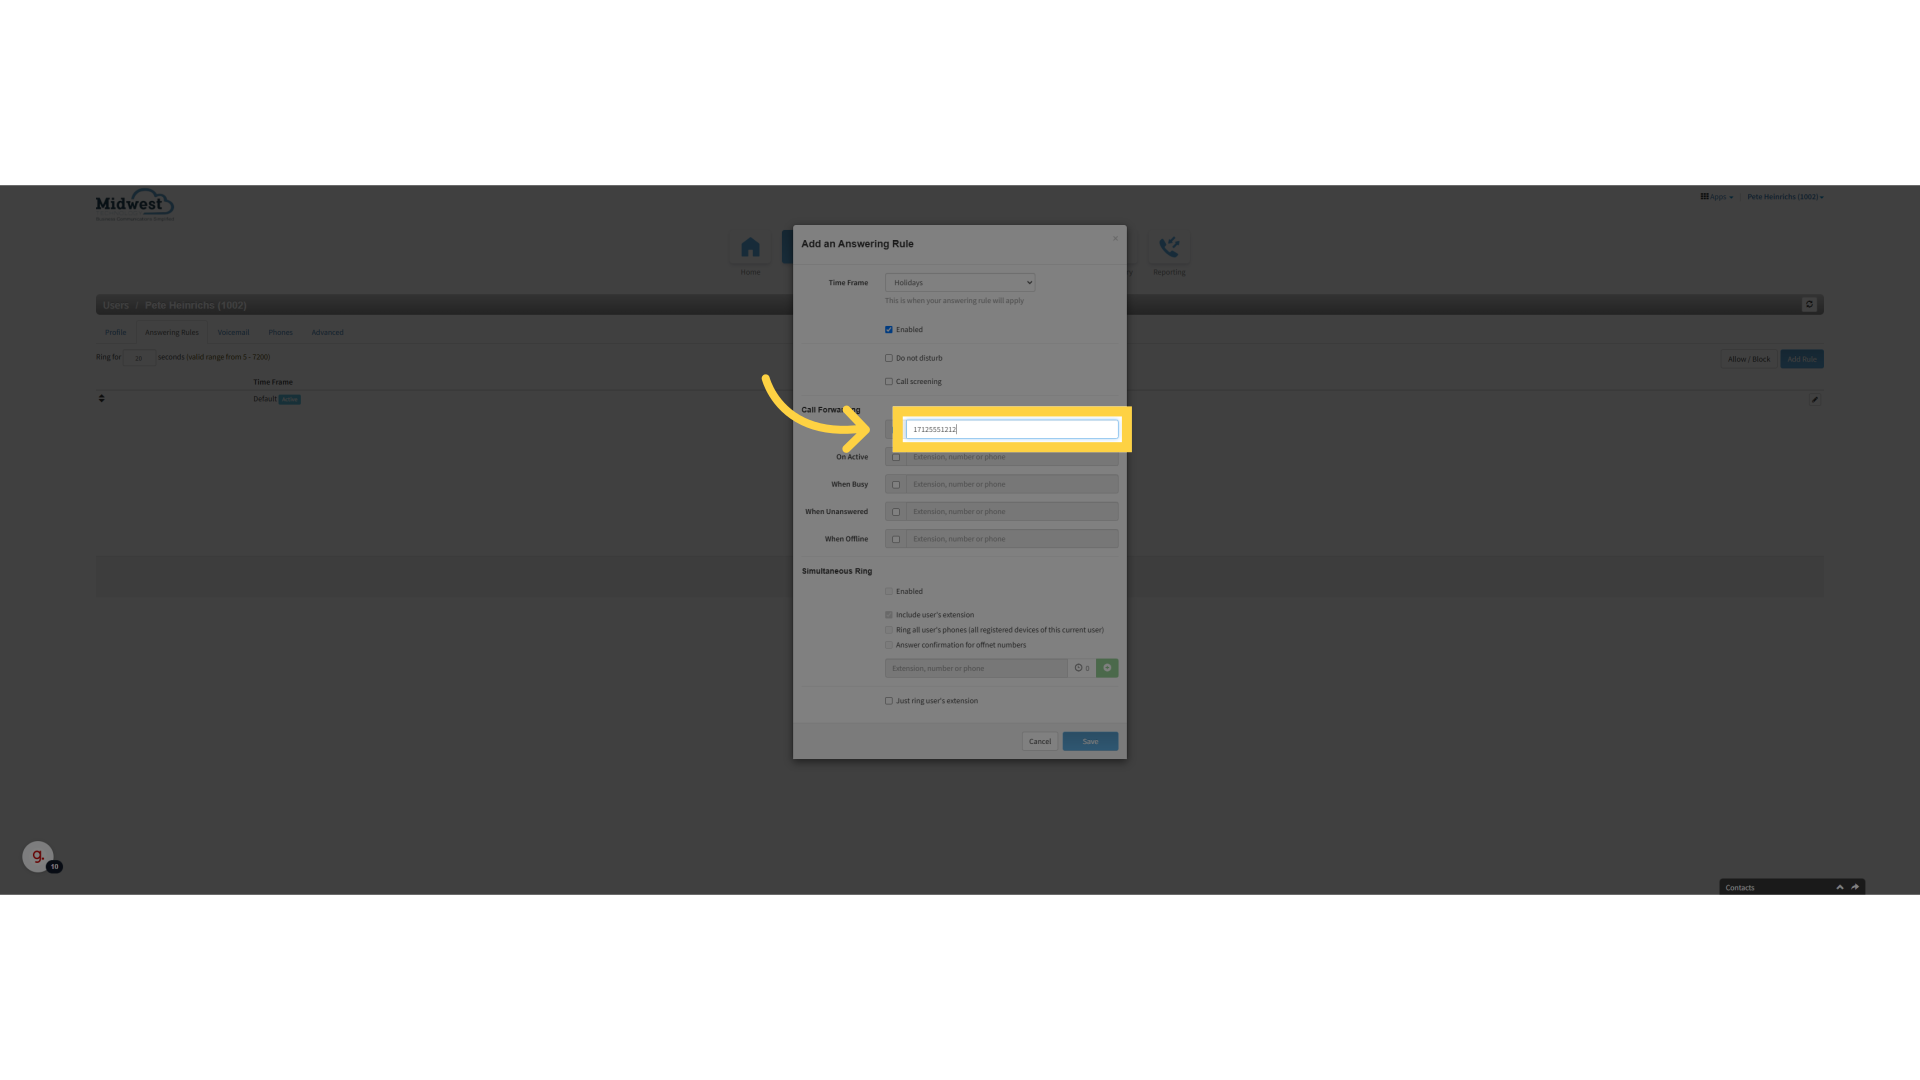
10. Enter the number you are forwarding to
Enter the number you are forwarding to

11. Fill "17125551212"
Enter the forwarding number
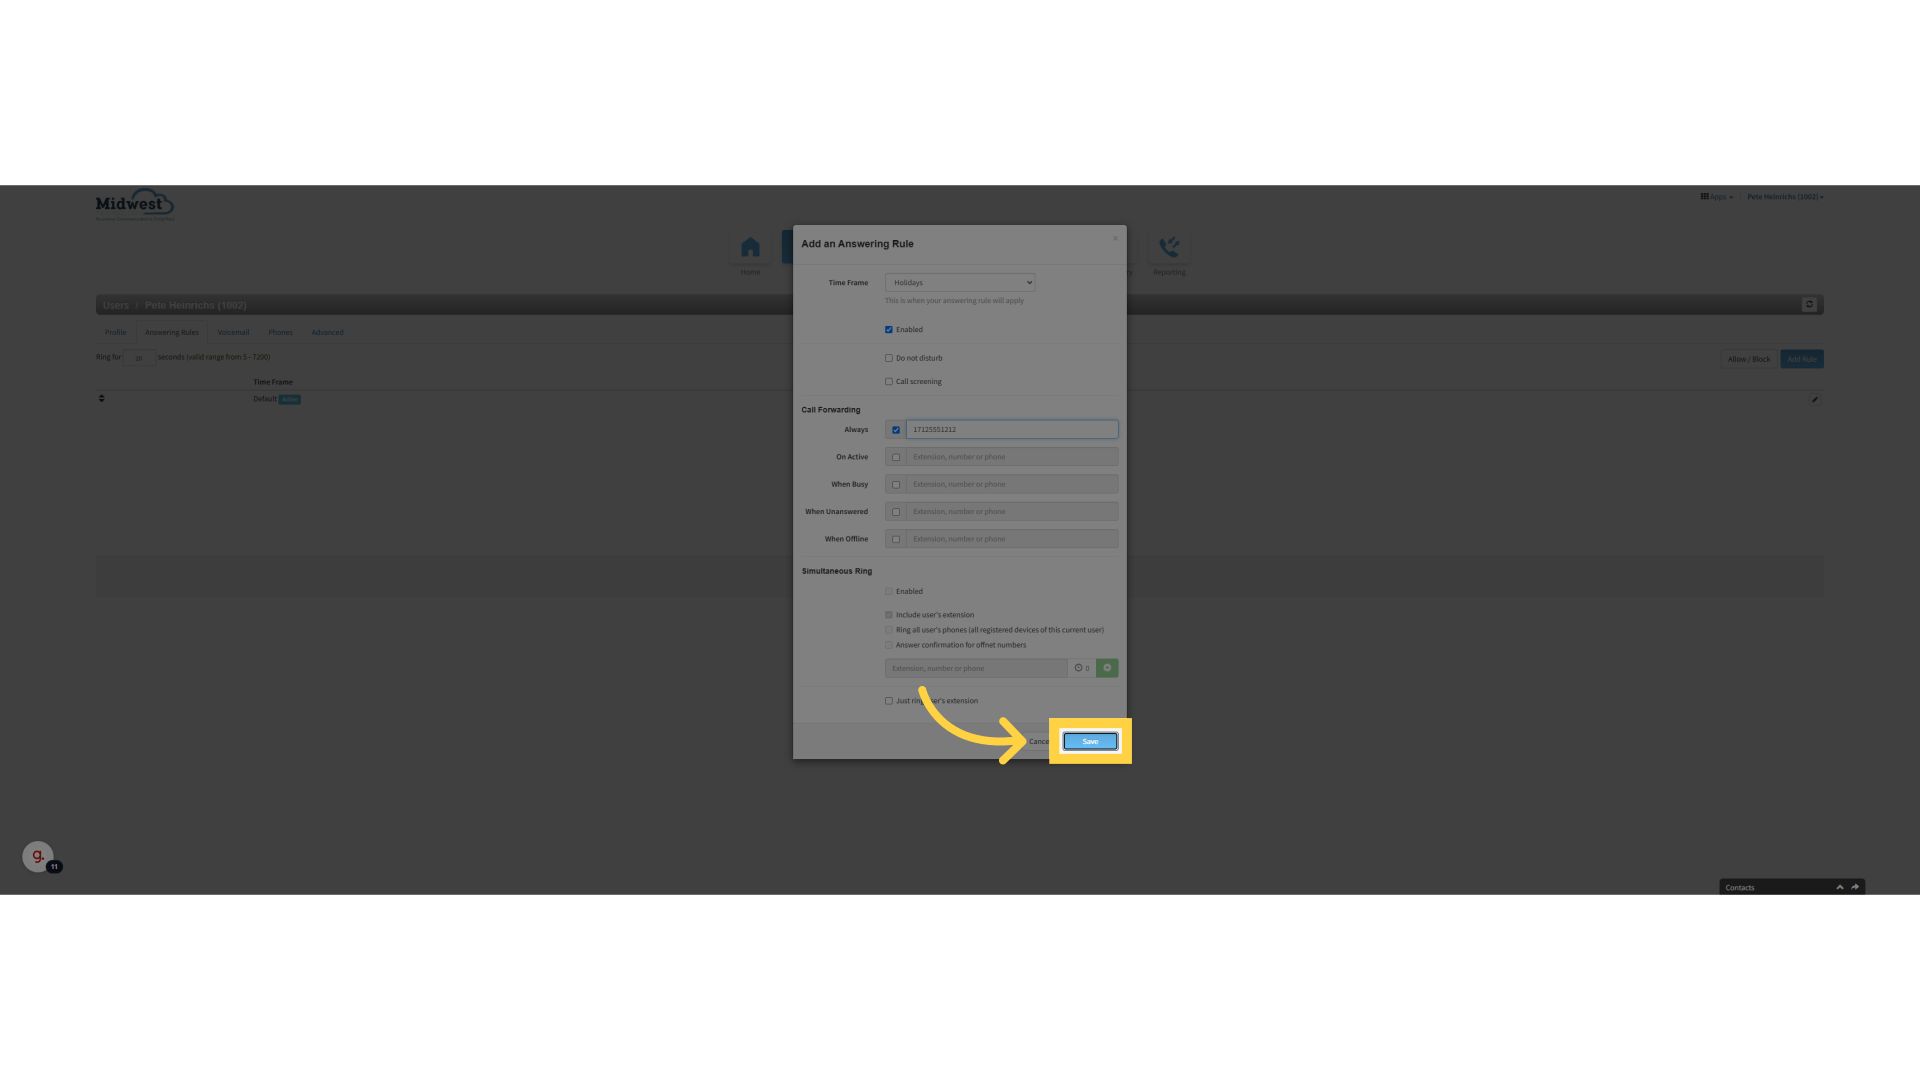
12. Click "Save"
Save the changes
This guide covered the process of setting up call forwarding for an extension, allowing you to manage incoming calls effectively