CloudTalk-Sending a fax from Connect UC

How to send a fax using Connect UC Desktop App
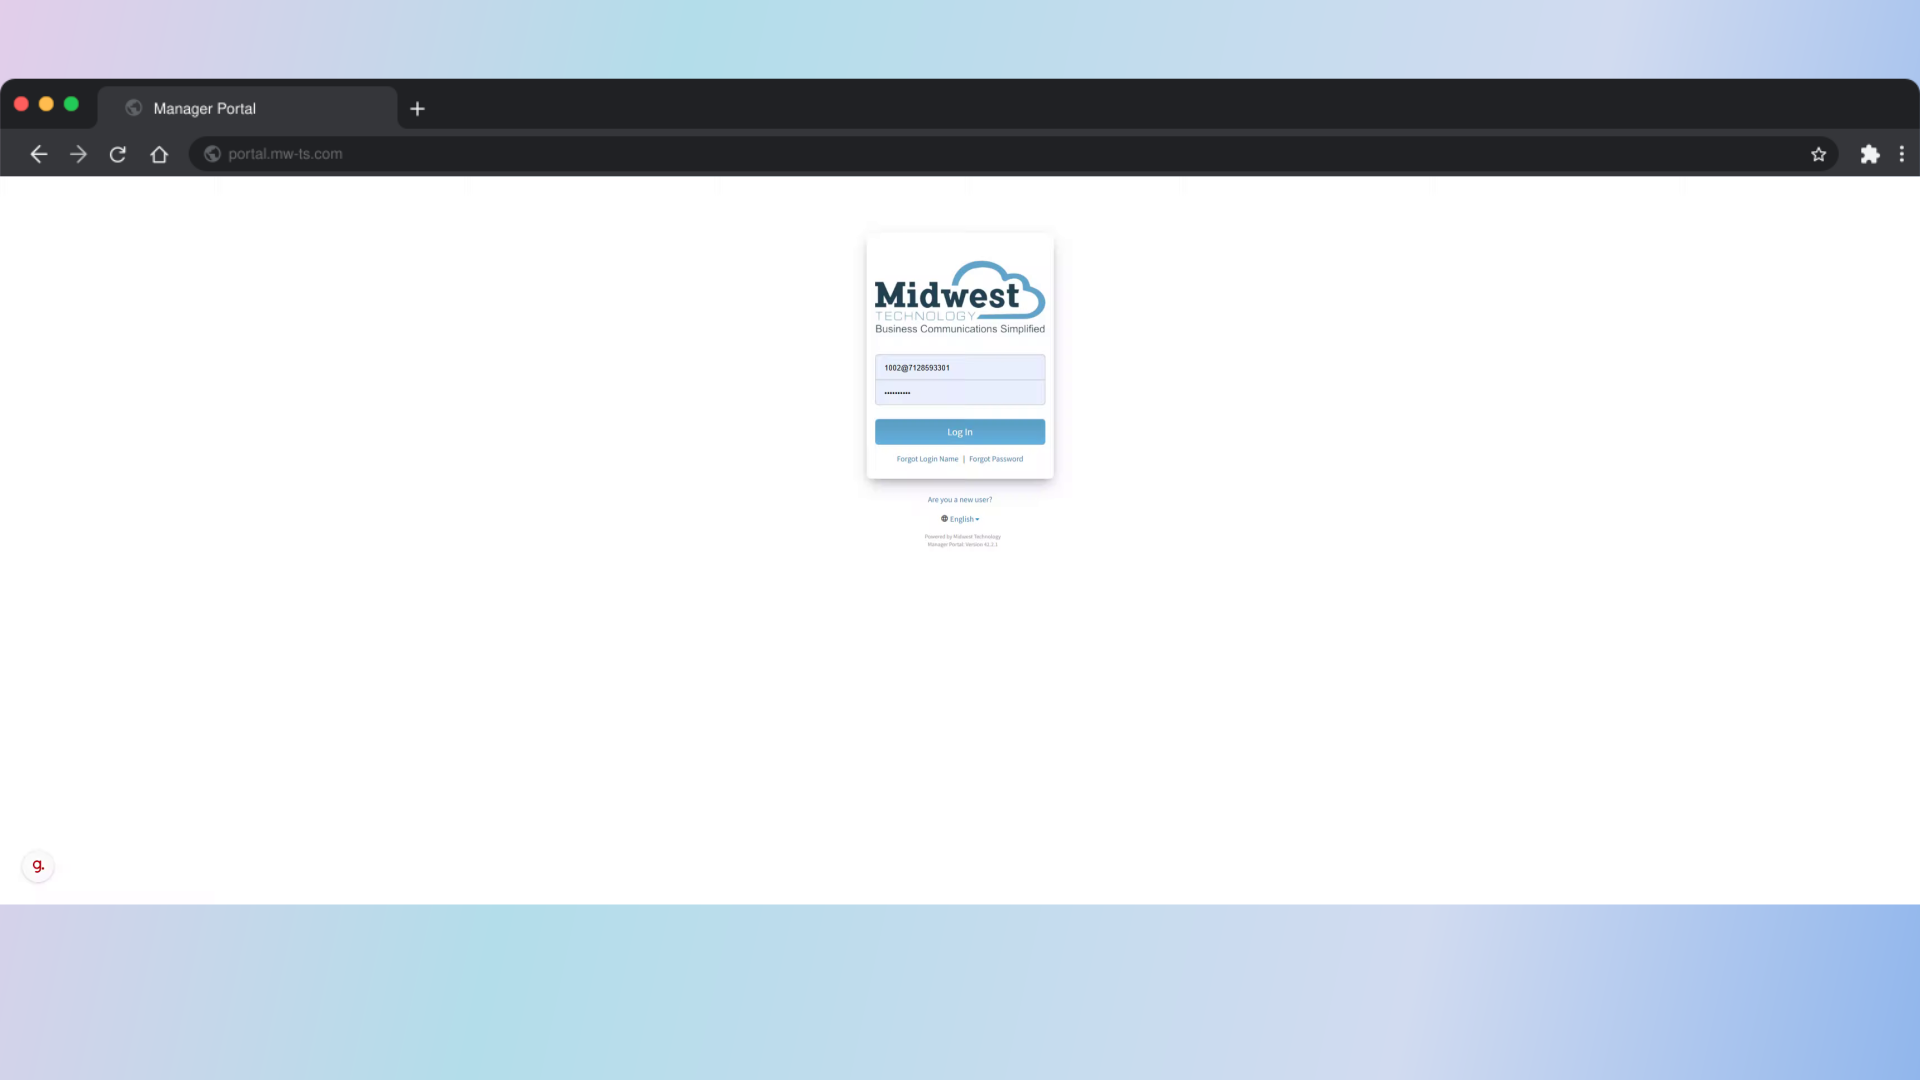
Go to portal.mw-ts.com
1. Open a Browser and go to portal.mw-ts.com
Open a Browser and go to portal.mw-ts.com
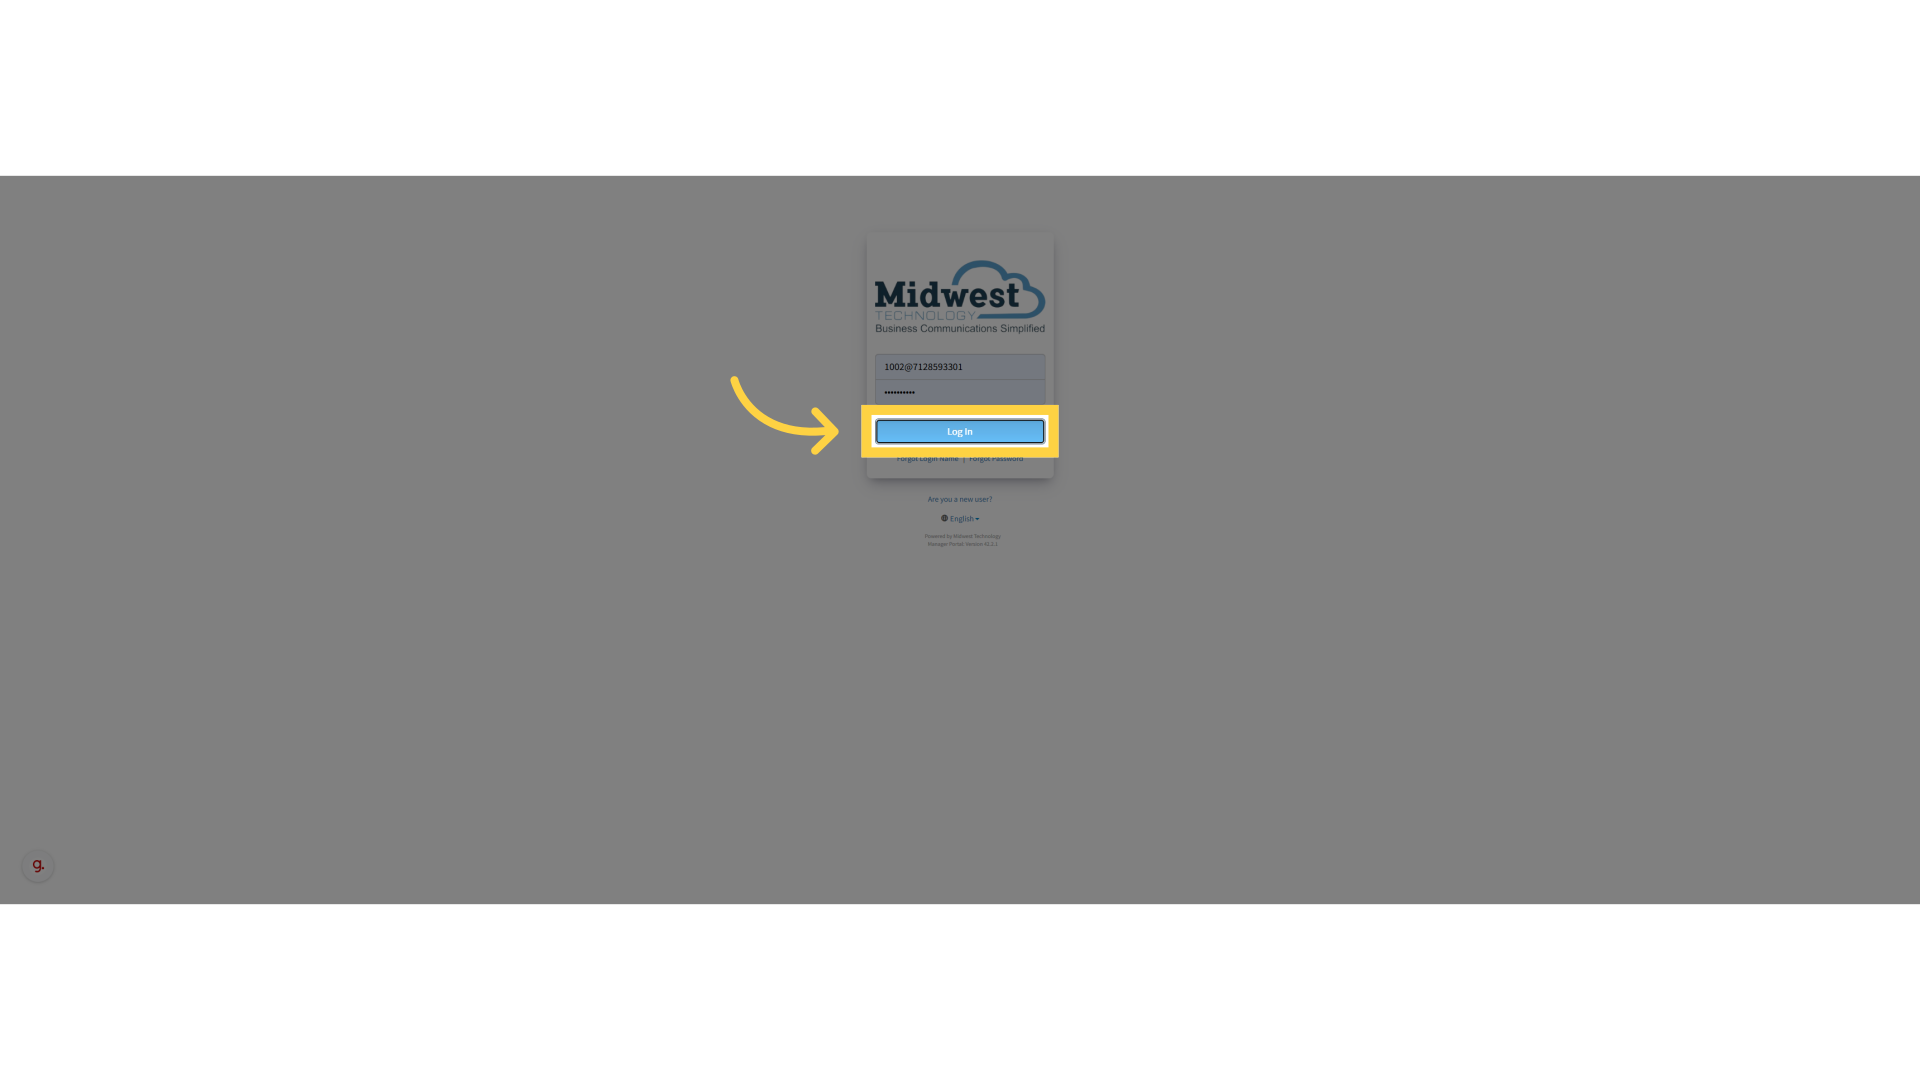
2. Enter username and password and click Log In
Enter username and password and click Log In
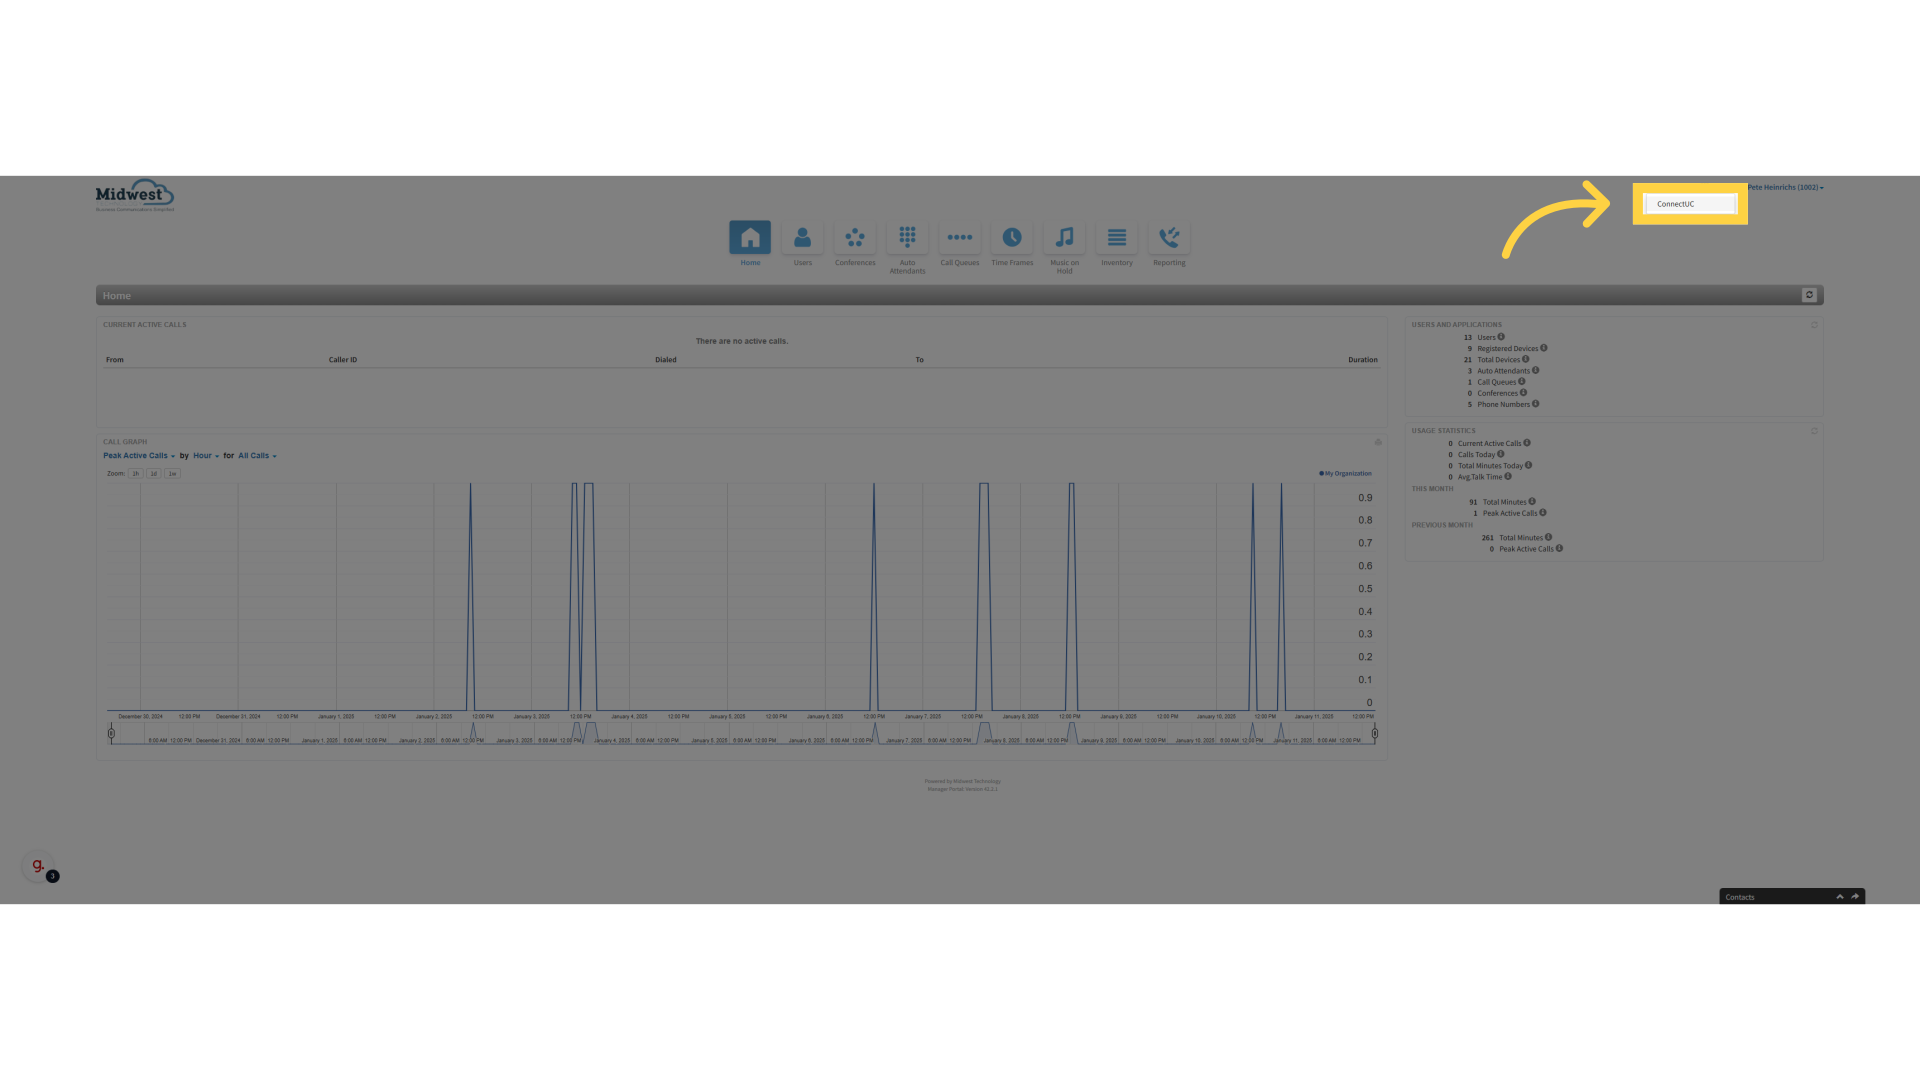
3. Click on Apps on the upper right corner
Click on Apps on the upper right corner

4. Click "ConnectUC"
Select the ConnectUC option
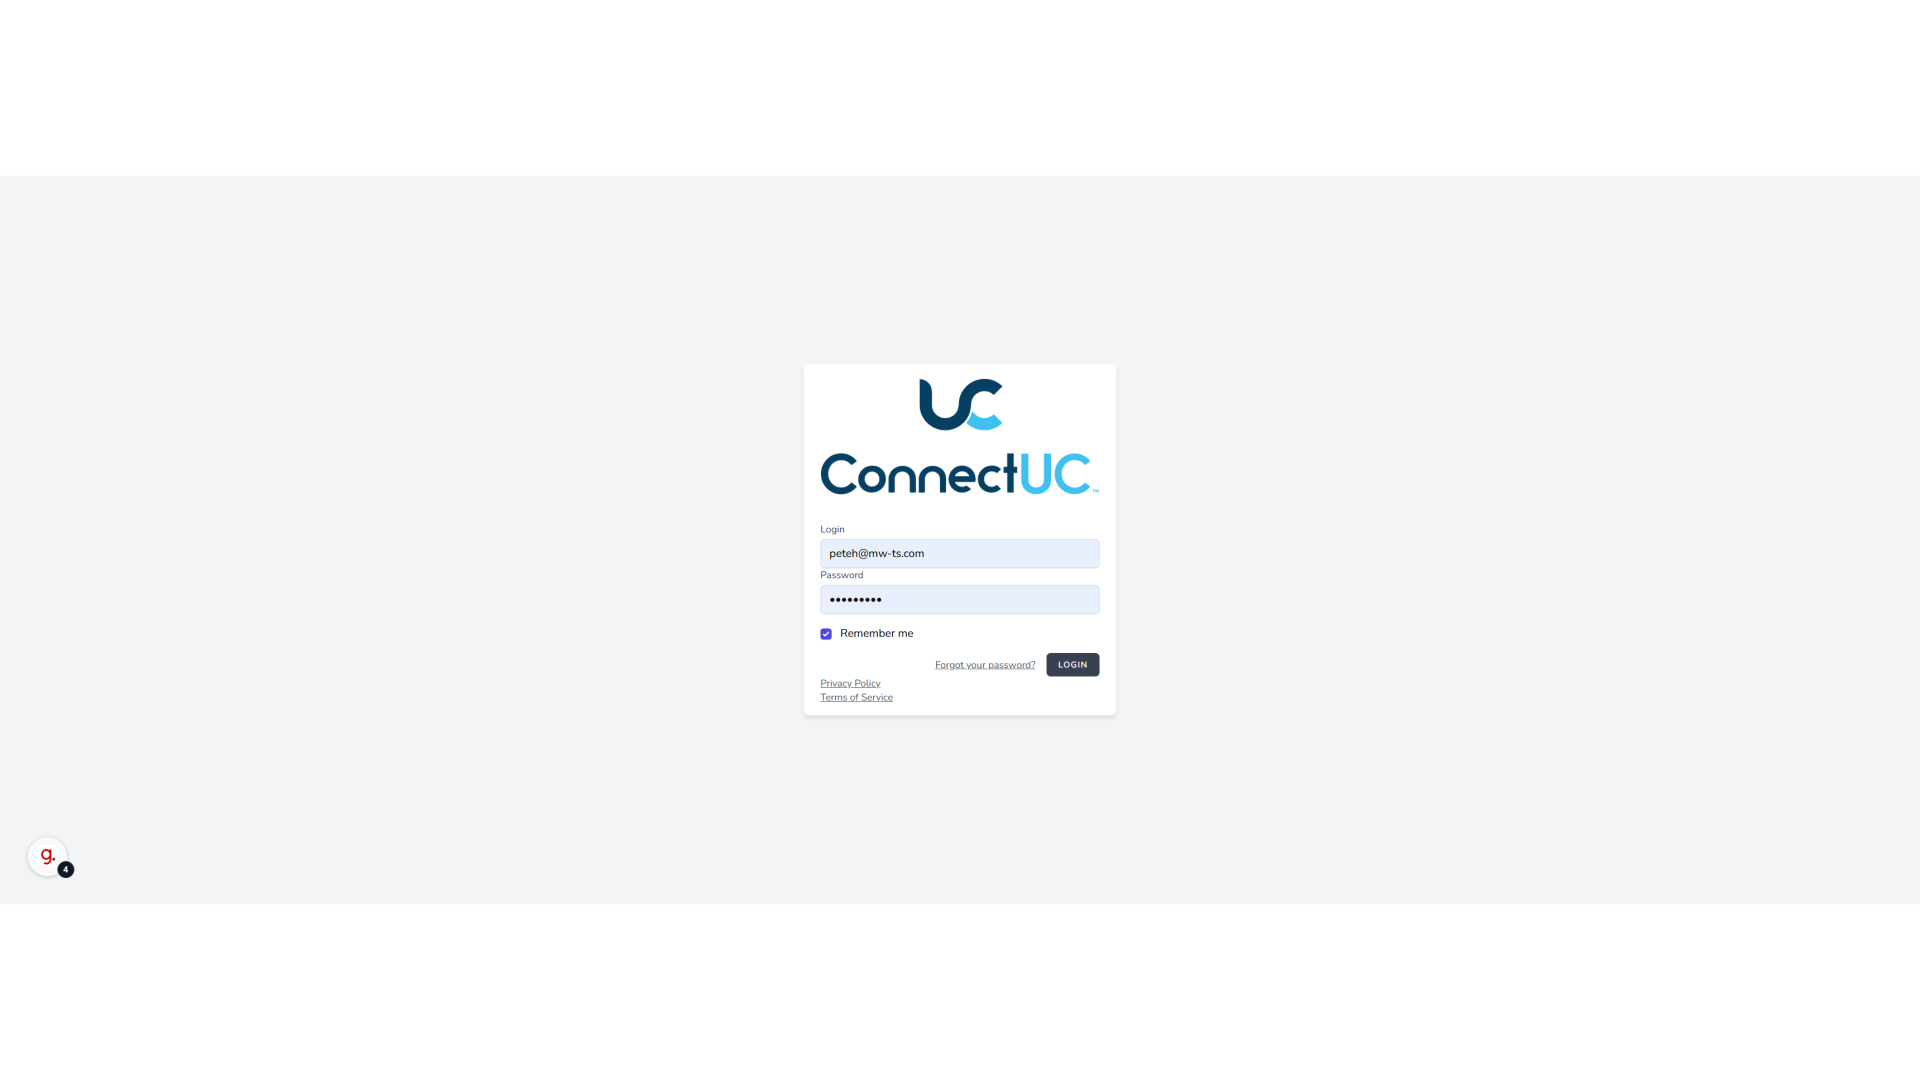
5. Enter your credentials and click log in or click Log in if your credentials are pre-populated
Enter your credentials and click log in or click Log in if your credentials are pre-populated
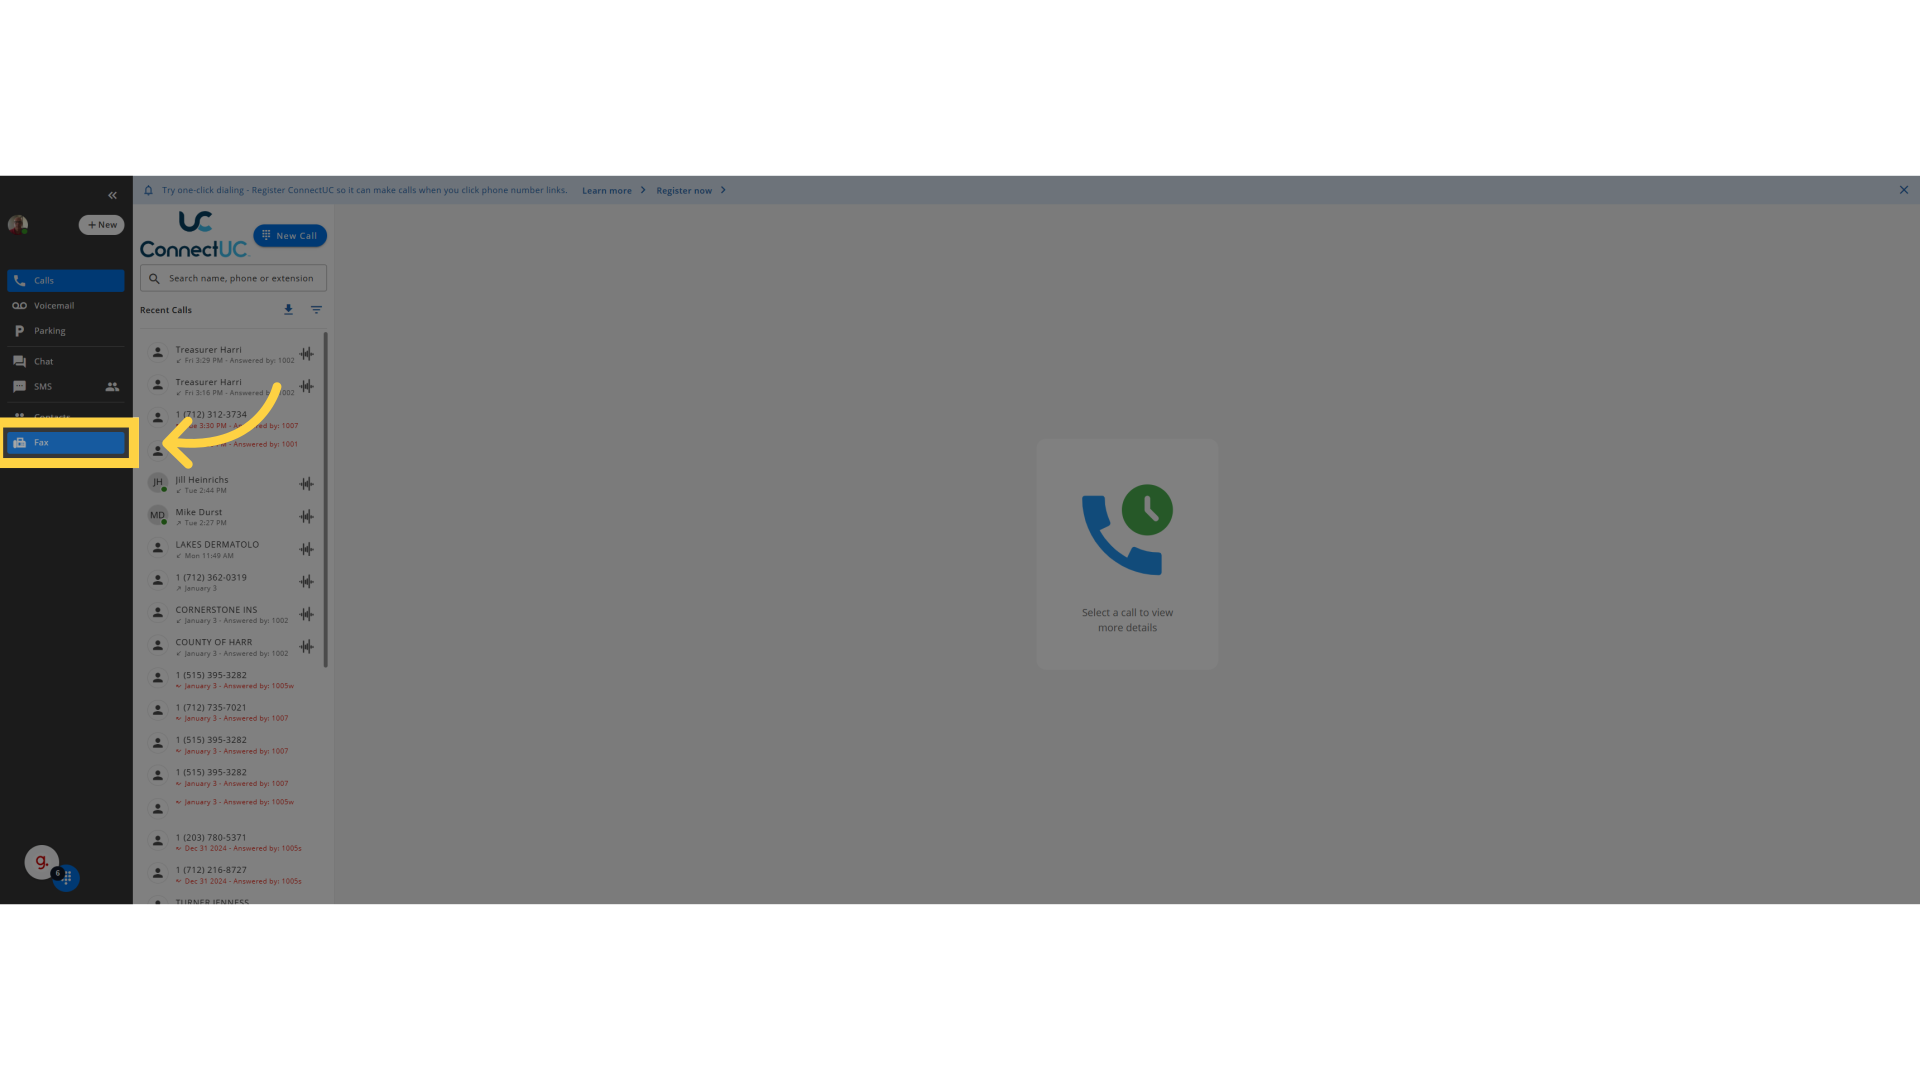
6. Click "Fax"
Select the Fax option.
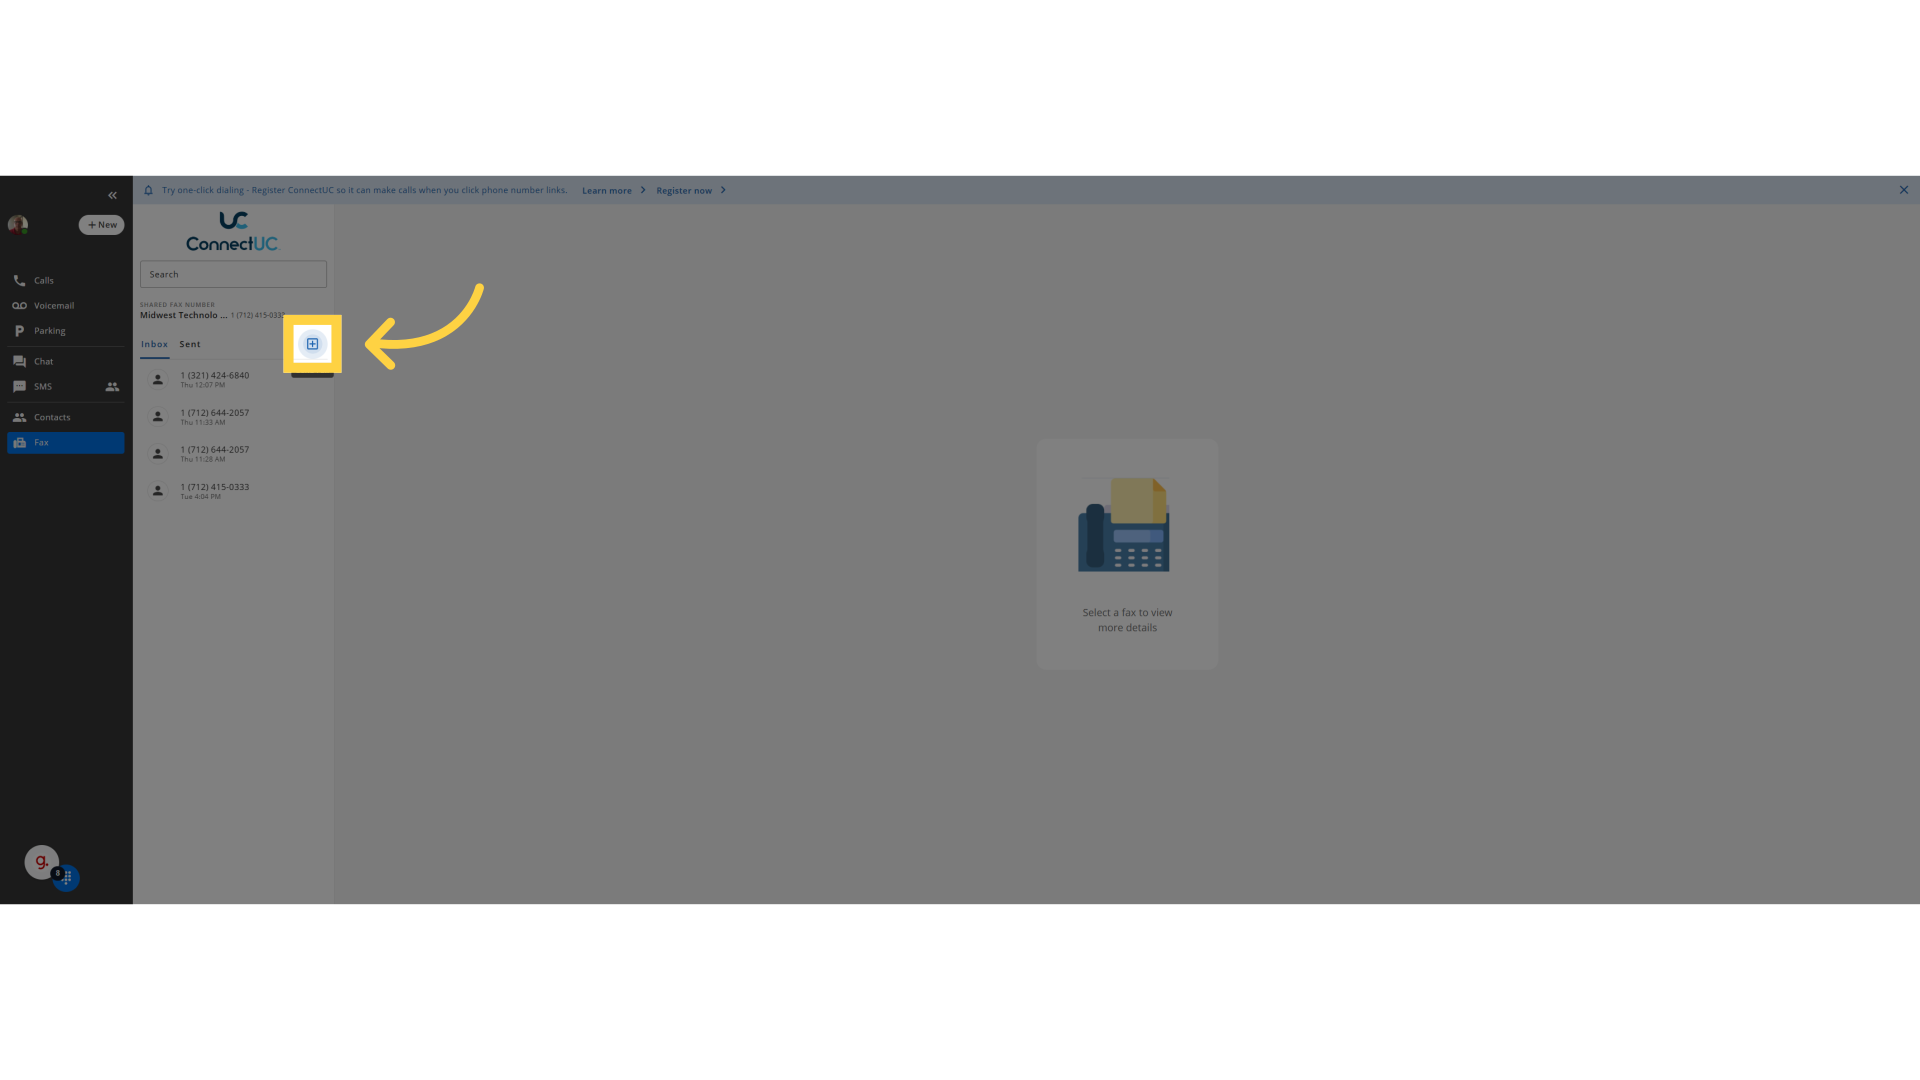
7. Click on the plus icon to send a new fax
Click on the plus icon to send a new fax
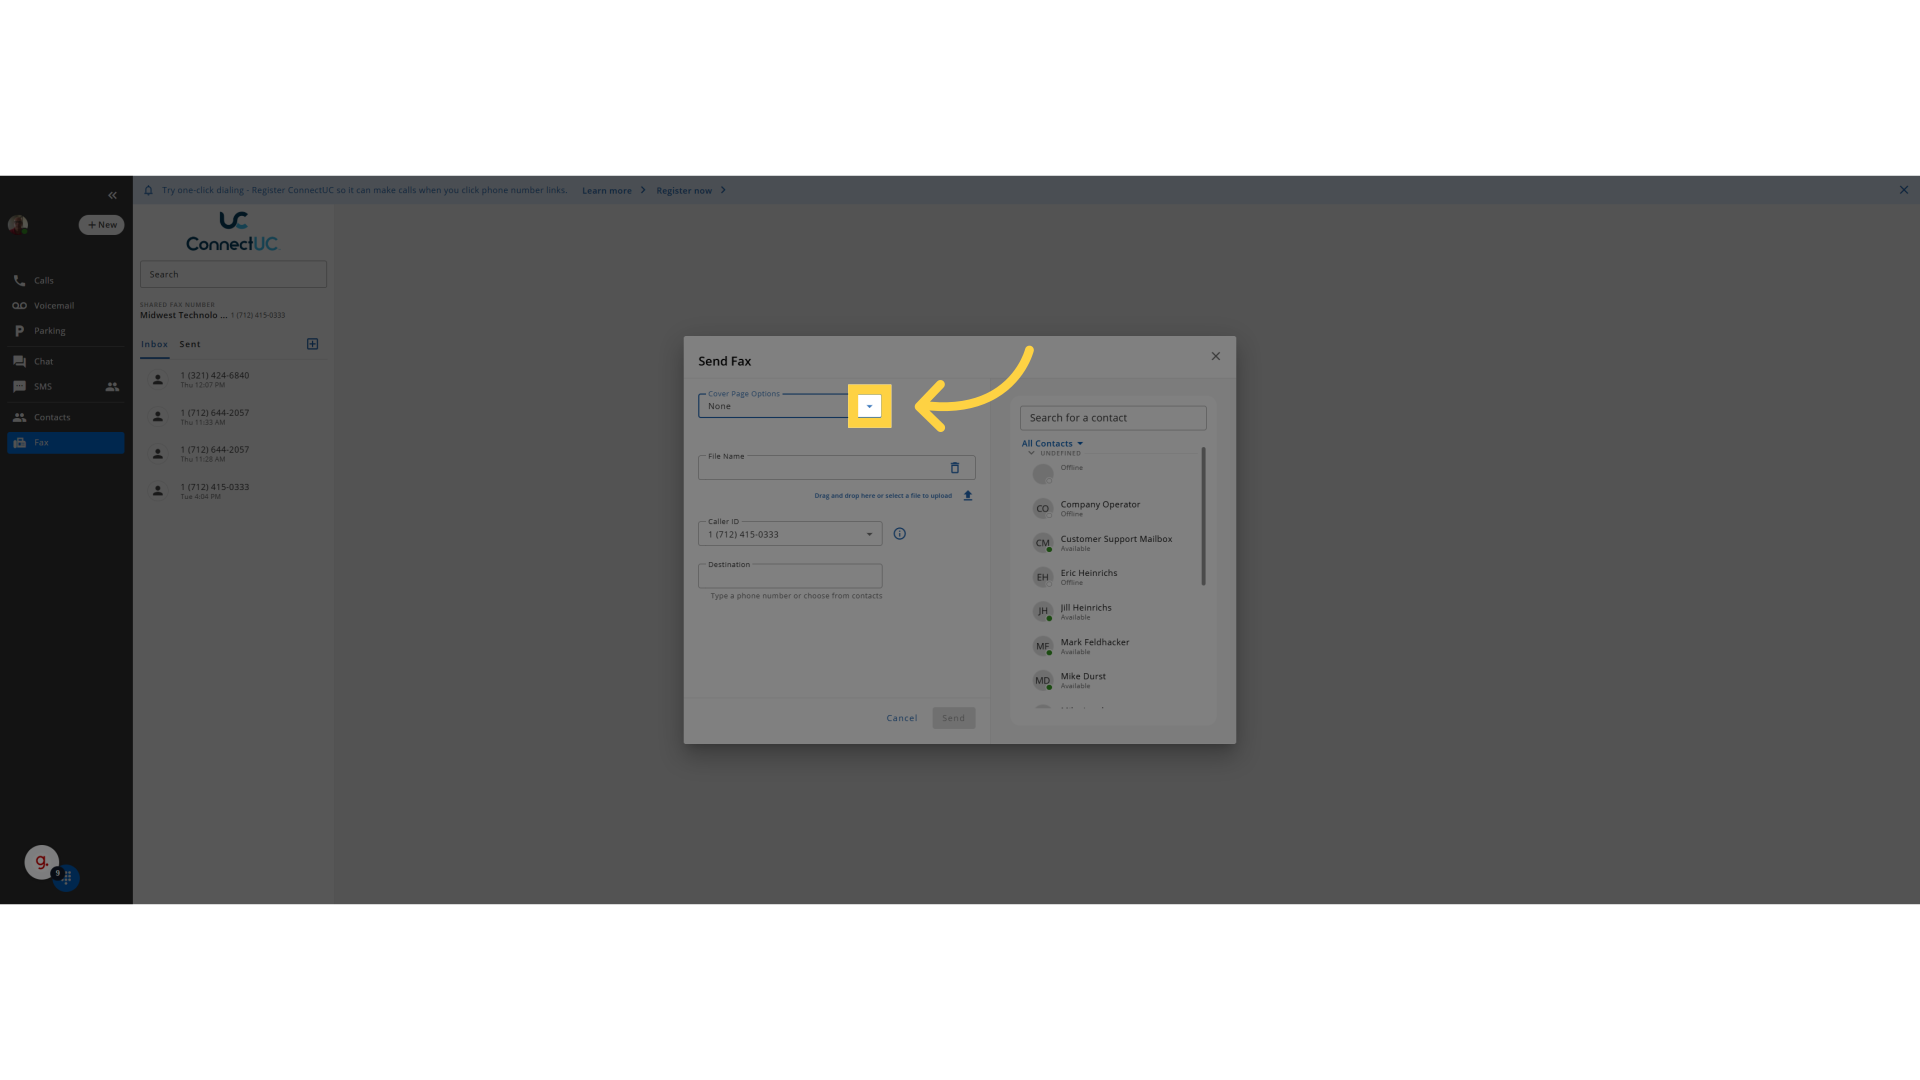
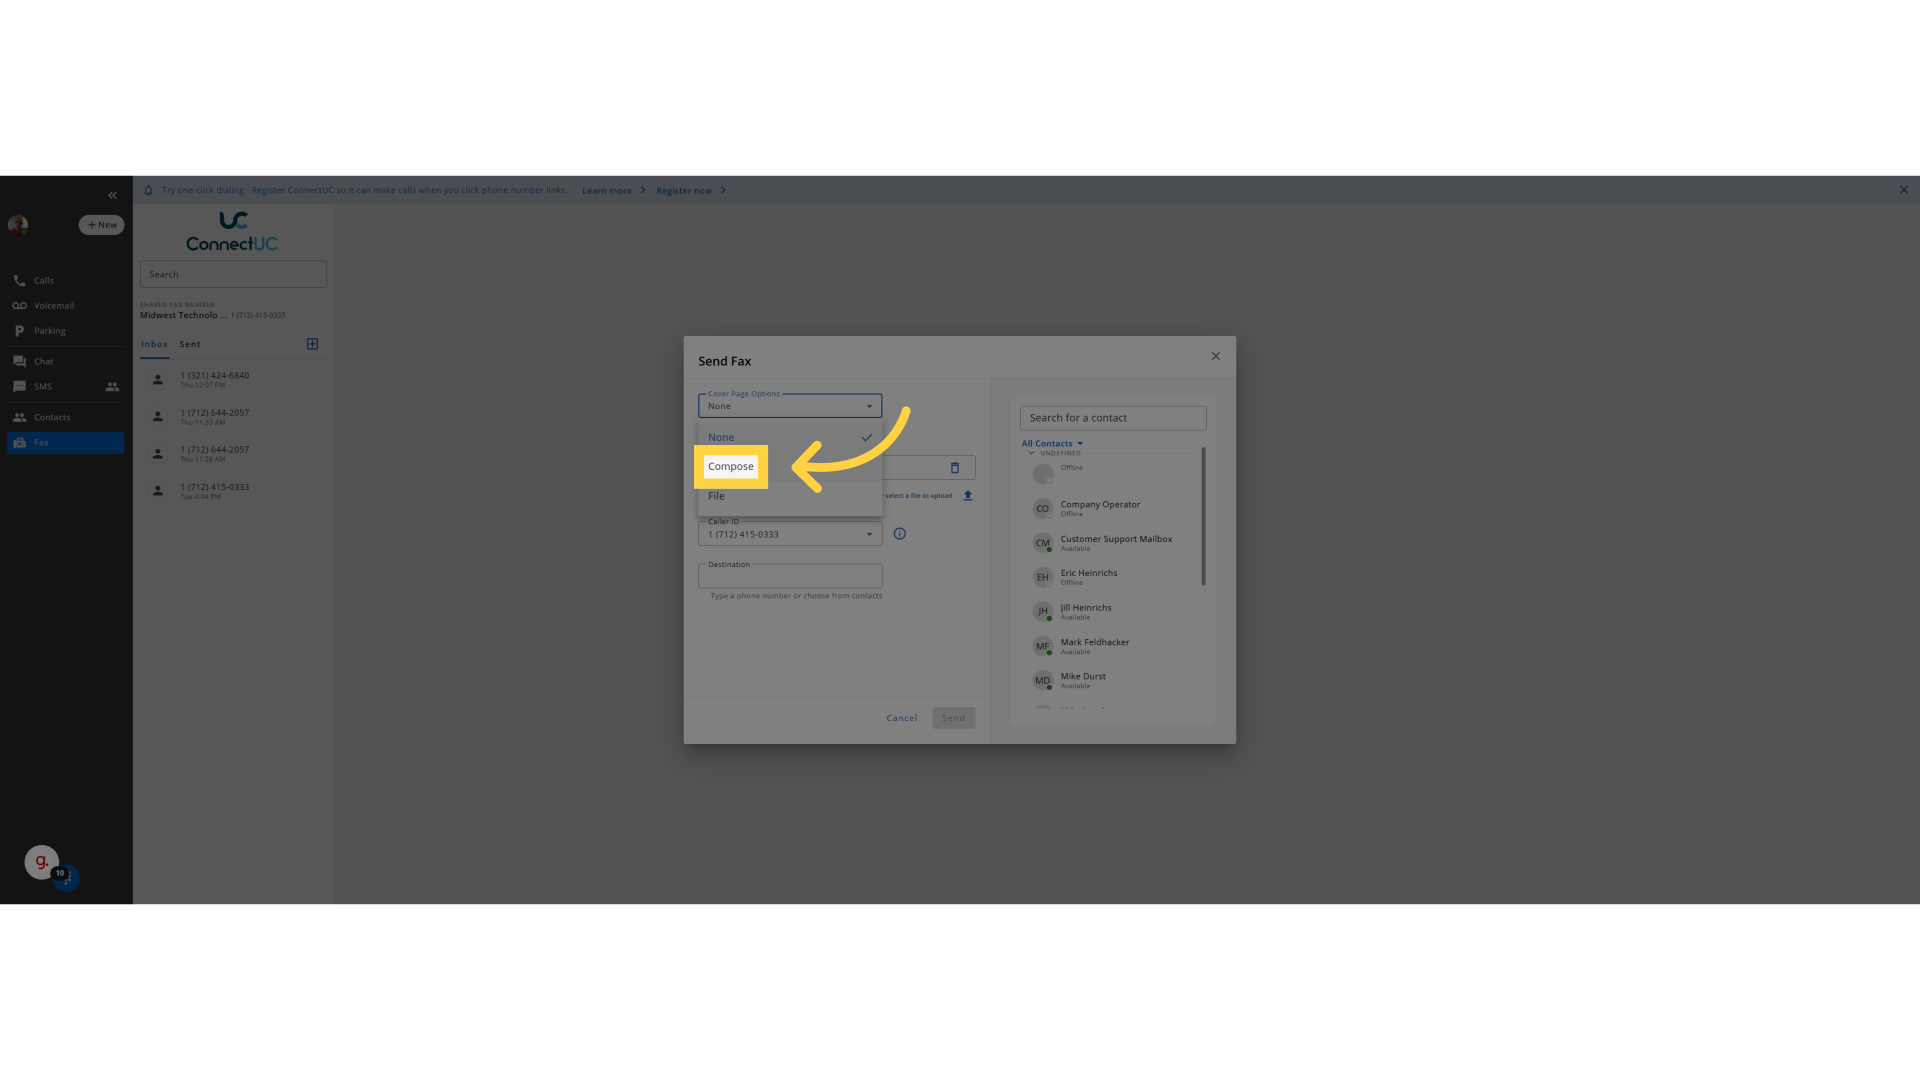
8. Click on the drop down box and you can select a file if you have a saved cover page or you can select compose and type a cover page
Click on the drop down box and you can select a file if you have a saved cover page or you can select compose and type a cover page
9. If you click compose you can type the information for your cover page
If you click compose you can type the information for your cover page
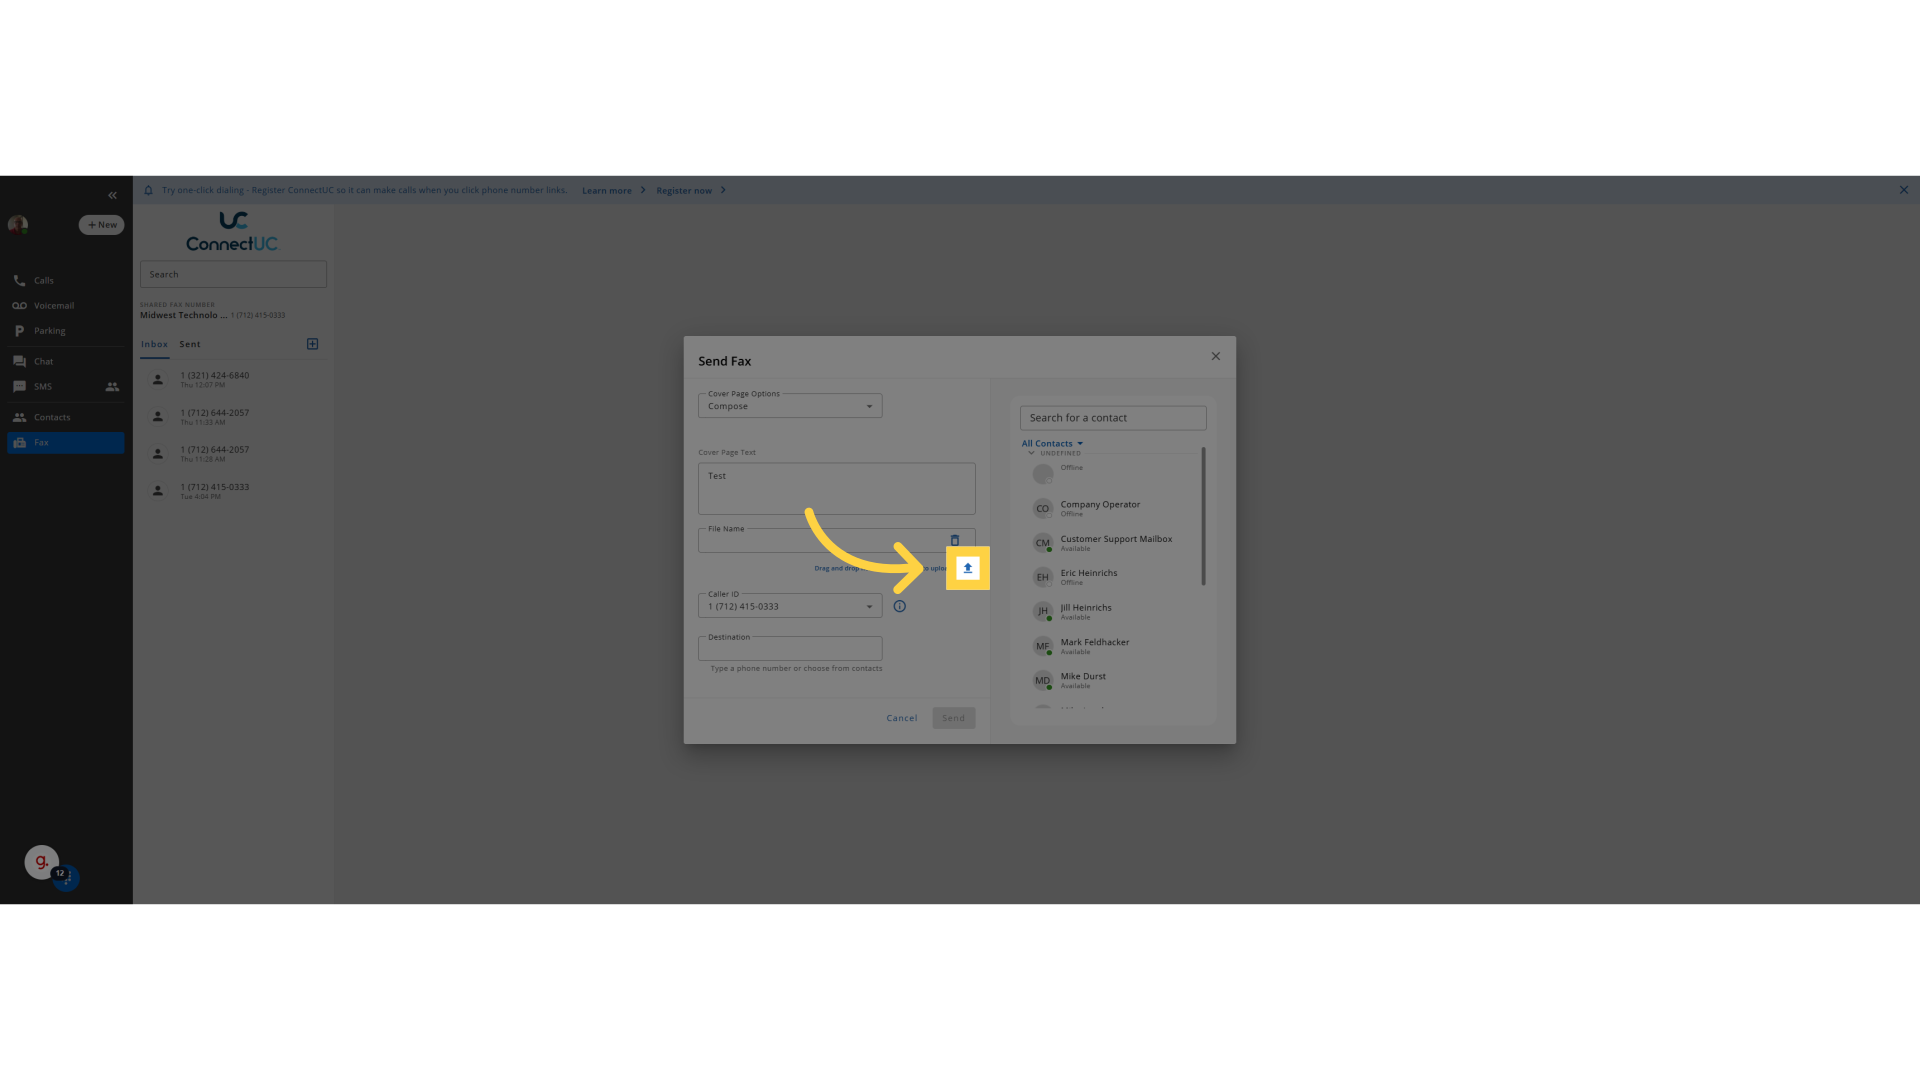
10. Click "file_upload" arrow
Select the file to upload
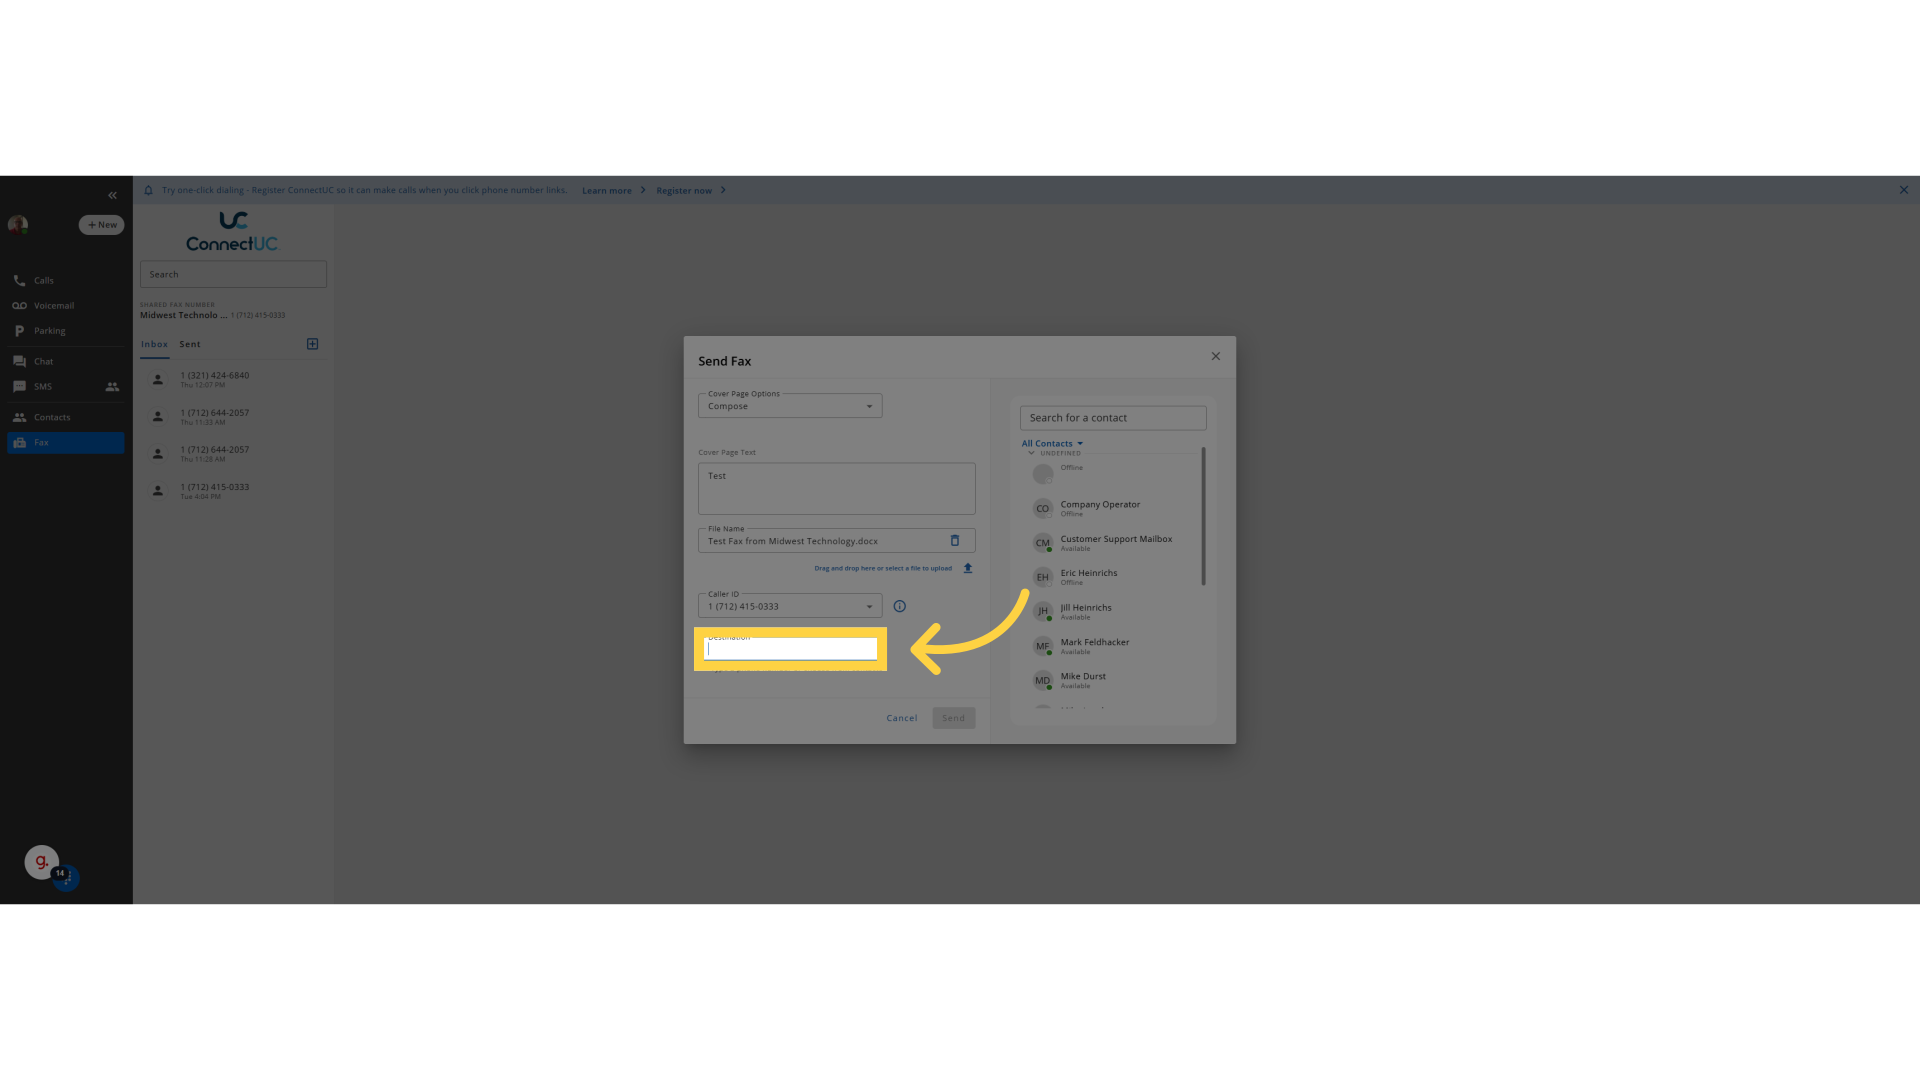
11. Click "Destination"
Select the destination
12. Enter the number you wish to fax to
Enter the number you wish to fax to

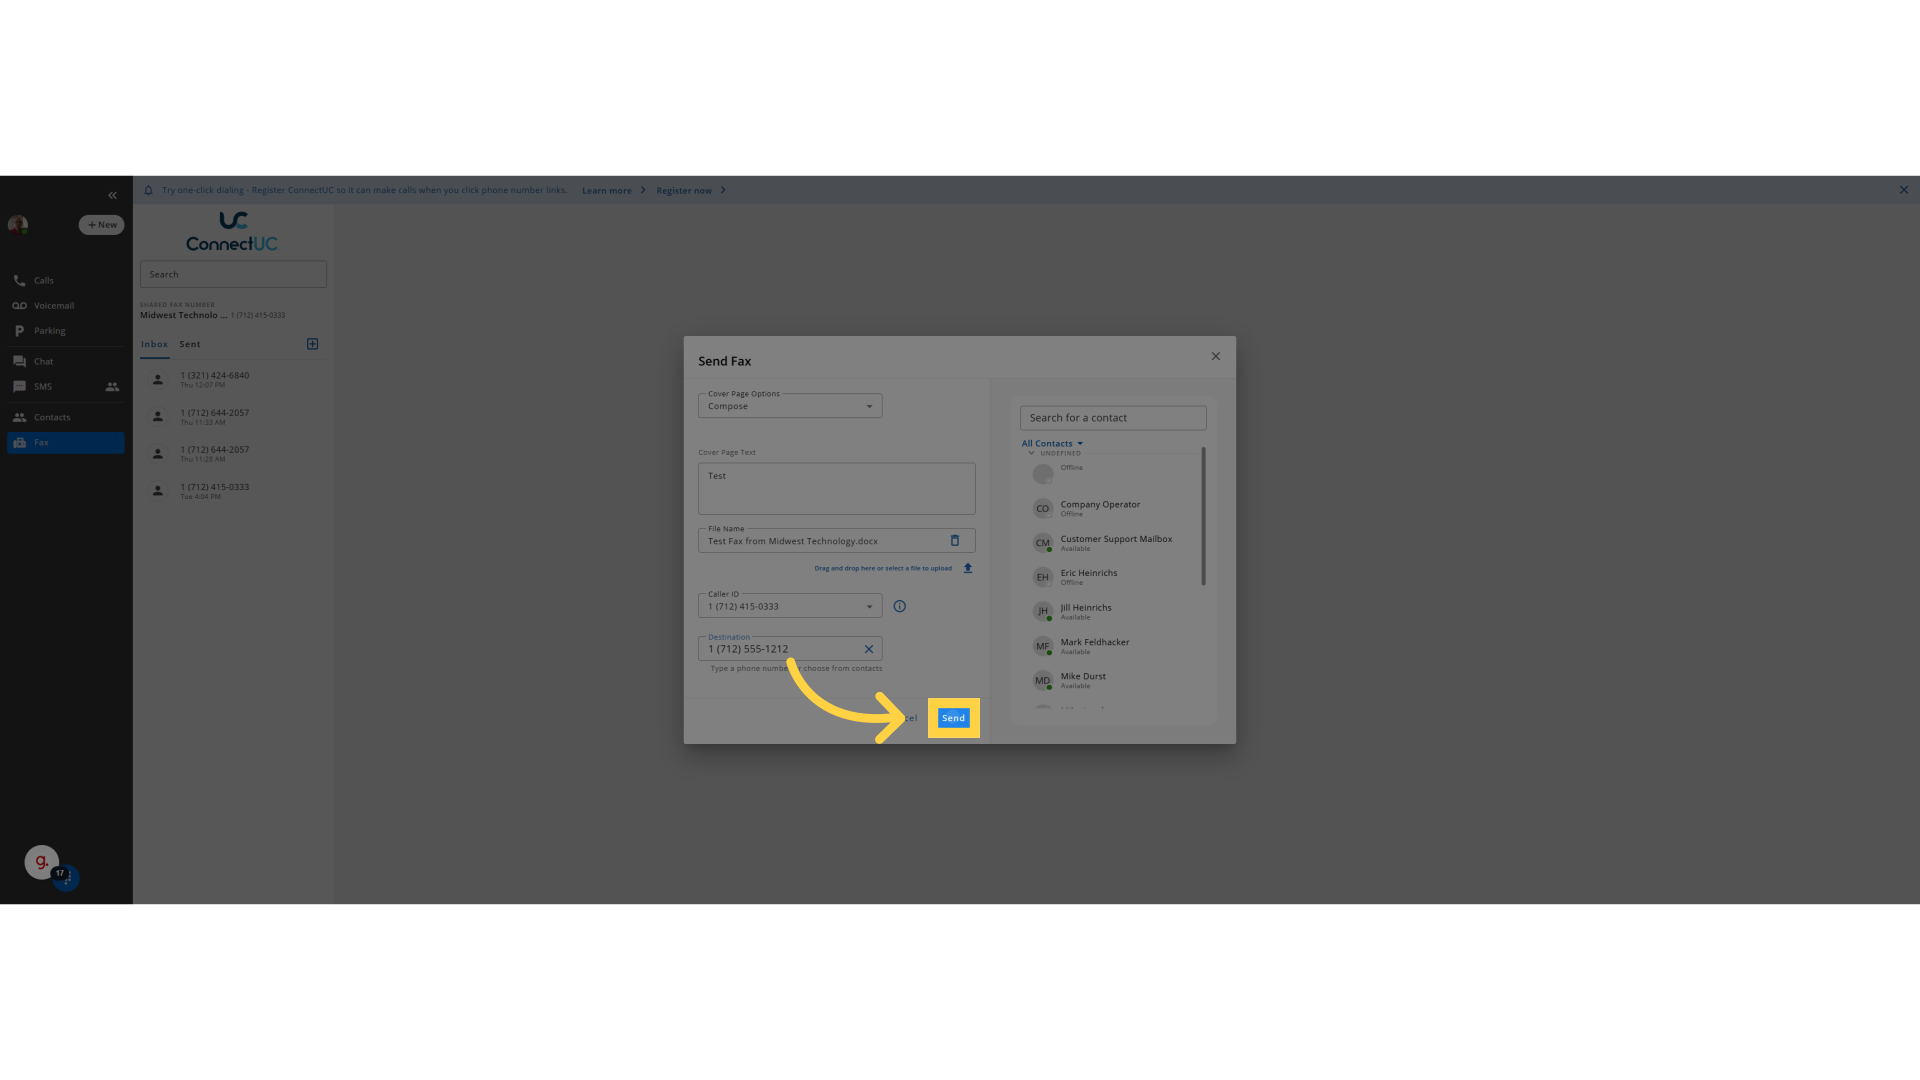
13. Click "Send"
Click the send button to send the fax. Note you will receive an email confirming the fax was delivered or if the fax failed to deliver
This guide covered the process of connecting UC Faxing, including logging in, selecting ConnectUC, composing a fax, and sending it seamlessly